Configure OAuth for a Synapse connection
ThoughtSpot supports OAuth for a Microsoft Azure Synapse connection. This page describes the setup and configuration required for using OAuth2.0 with Azure AD as the IdP for Azure Synapse connections.
Part 1: Create AD application in Azure
The first step in setting up OAuth with Azure AD as an IdP is to create an active directory application in Azure.
-
Sign in to the Azure portal and navigate to “Azure Active Directory” resource.
-
Under Manage select App registrations and then New registration.
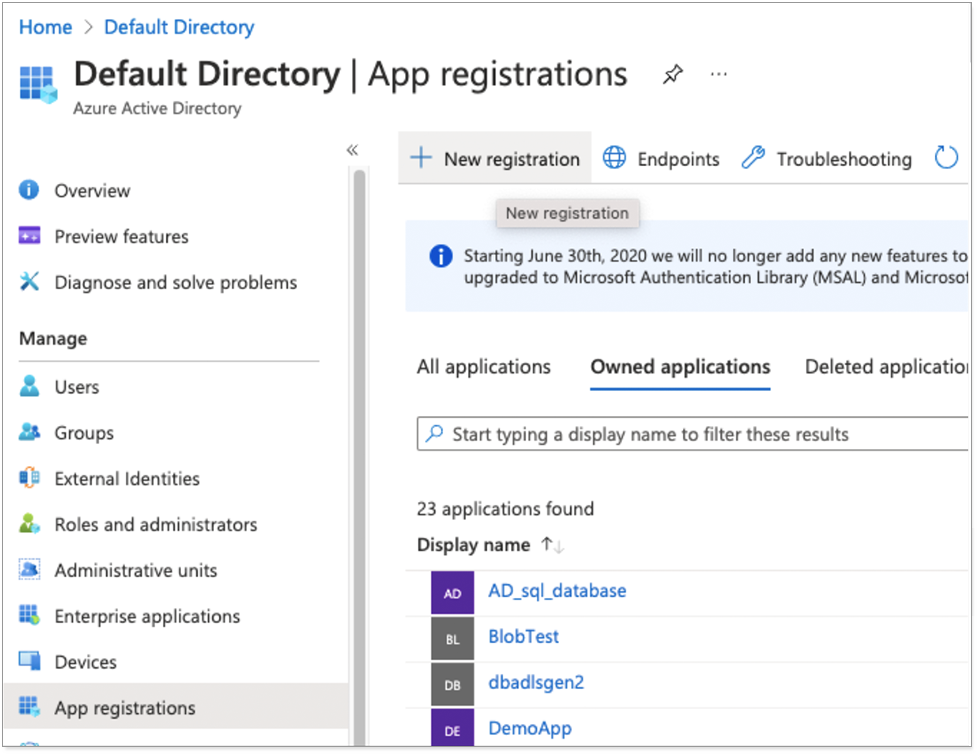
The Register an application appears.
-
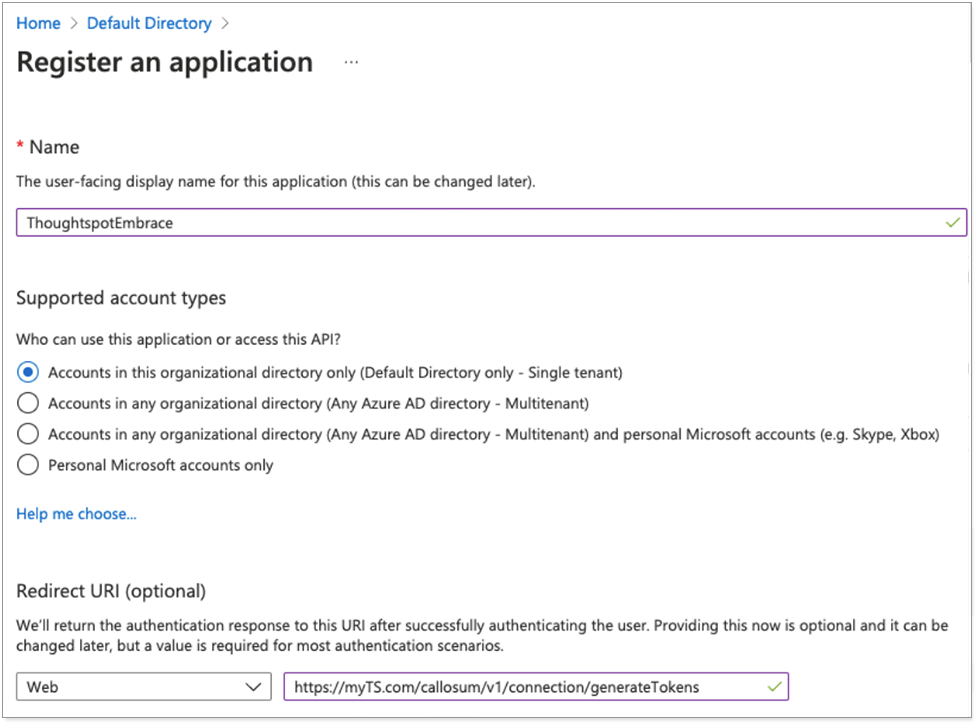
Enter a name for the application, and select the supported account types.
-
For the Redirect URI, enter your ThoughtSpot instance’s hostname in the following format:
https://<your_instance_name>/callosum/v1/connection/generateTokens, and select Register.For example:
https://myTS.com/callosum/v1/connection/generateTokens.The OAuth client application creation is complete.
-
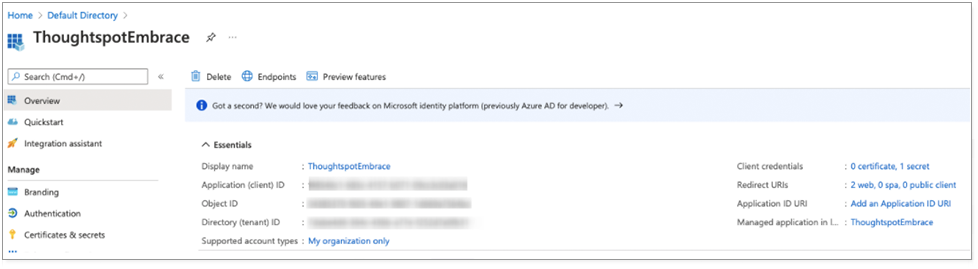
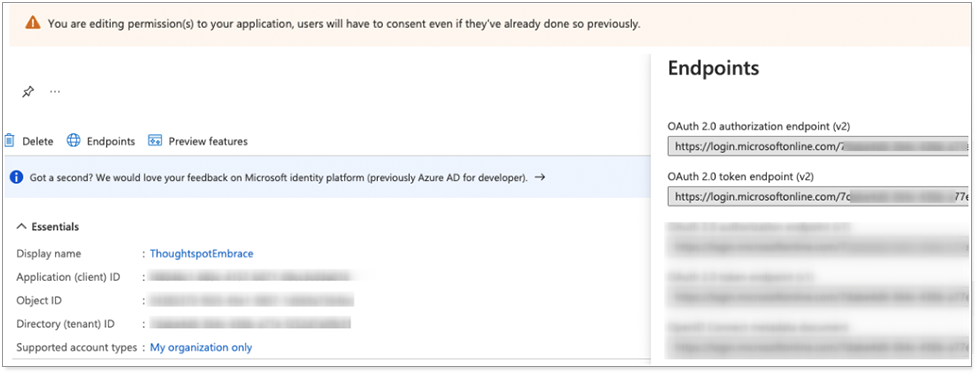
Make a note of the Application (client) ID which you will use later in the OAuth2.0 authorization workflow.
You will now create the client secret for your application.
-
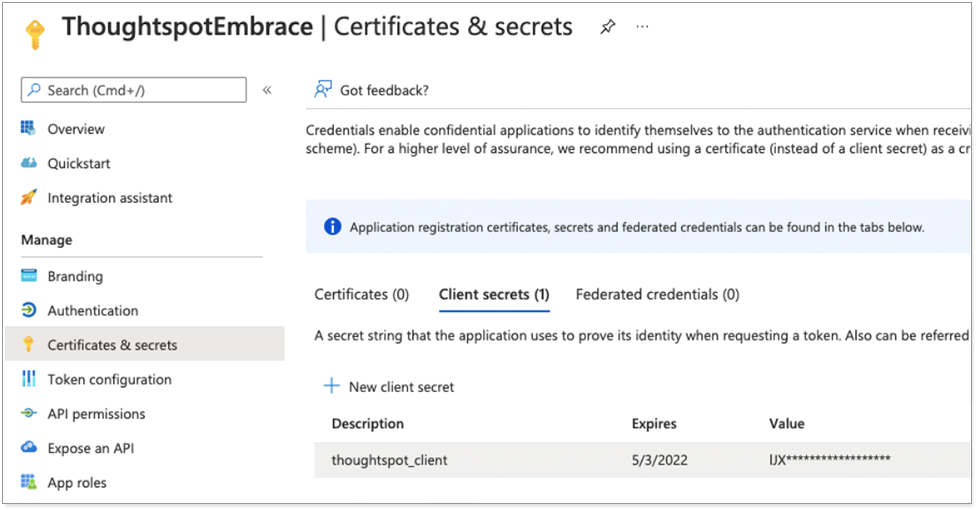
In the application you just created, select Certificates & Secrets.
-
Select New client secret to create a secret for the application. This secret will also be used in OAuth2.0 authorization flow along with client ID.
-
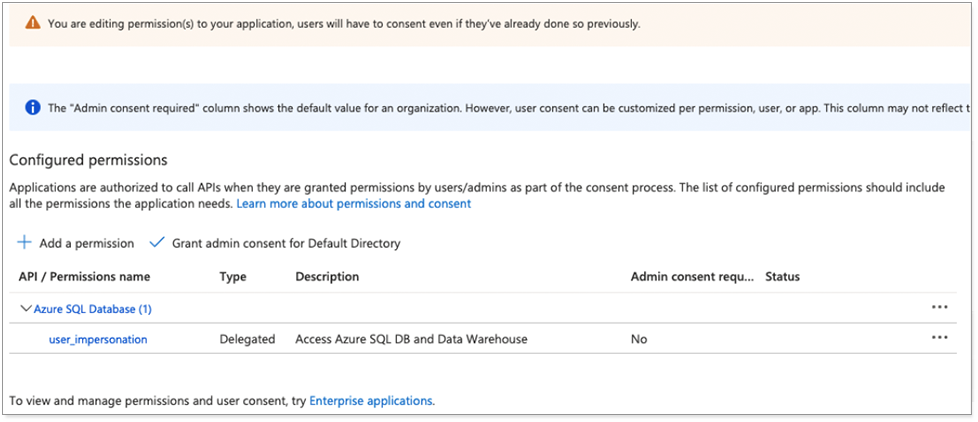
under API / Permissions name, for Azure SQL Database, add the user_impersonation permission, as shown in the following image.
Delegated type indicates that the application will authenticate on behalf of the user.
-
From the application home page, select Endpoints and make a note of the OAuth2.0 authorization and token endpoints.
Part 2: Set active directory admin for database server
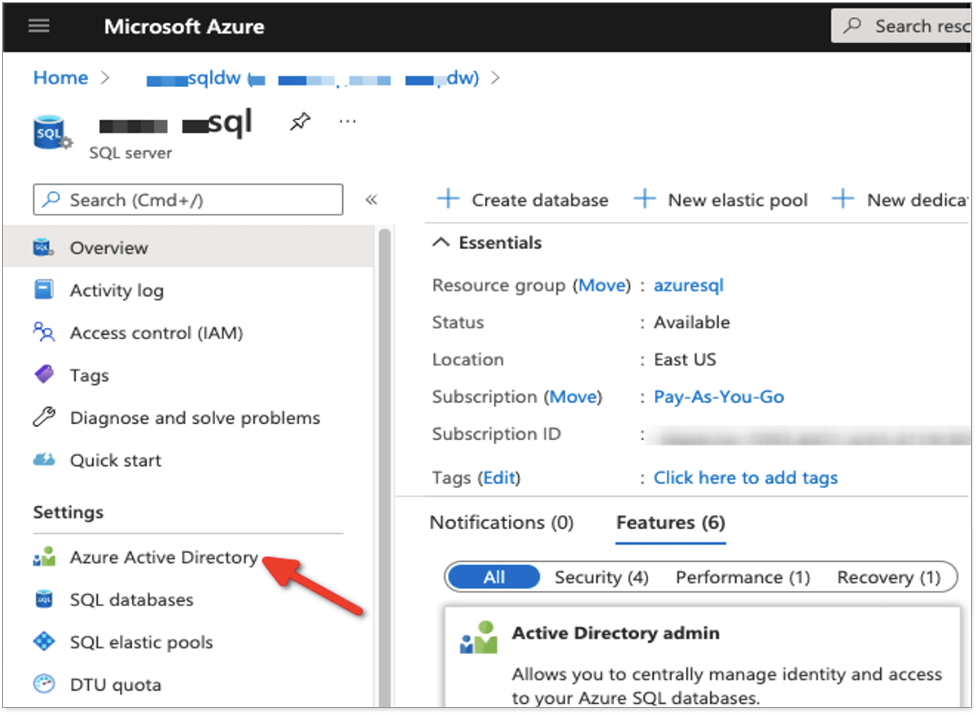
An active directory user must be set as Admin for the SQL server.
-
Navigate to the SQL server associated with the Synapse deployment and select Active Directory Admin.
-
At the top of the page, select Set admin to search for users in the directory, and select the user you want to set as administrator for the server.
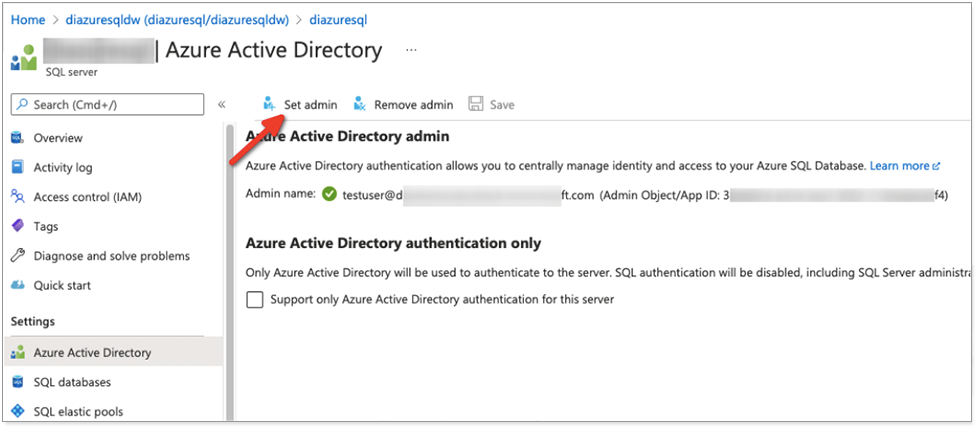
You should now see the Admin name set for the server.
Active directory is now linked with the SQL database.
Part 3: Create database user
-
Create the AD user you want to use for database login by logging in to the database with the administrator user you set earlier.
-
Use the following DDL in the following format to create the user:
CREATE USER [<email_address@company>] FROM EXTERNAL PROVIDER;Example:
CREATE USER [[email protected]] FROM EXTERNAL PROVIDER;This is referred to as a “contained user” created in the database mapped to Azure AD identity. For details, see Microsoft’s documentation: Create contained users mapped to Azure AD identities.
You cannot manage database roles for AD users from Azure. You must manage them from the database side.
Troubleshooting
If the following Invalid Resource error appears on initial login, you must update the API permissions.
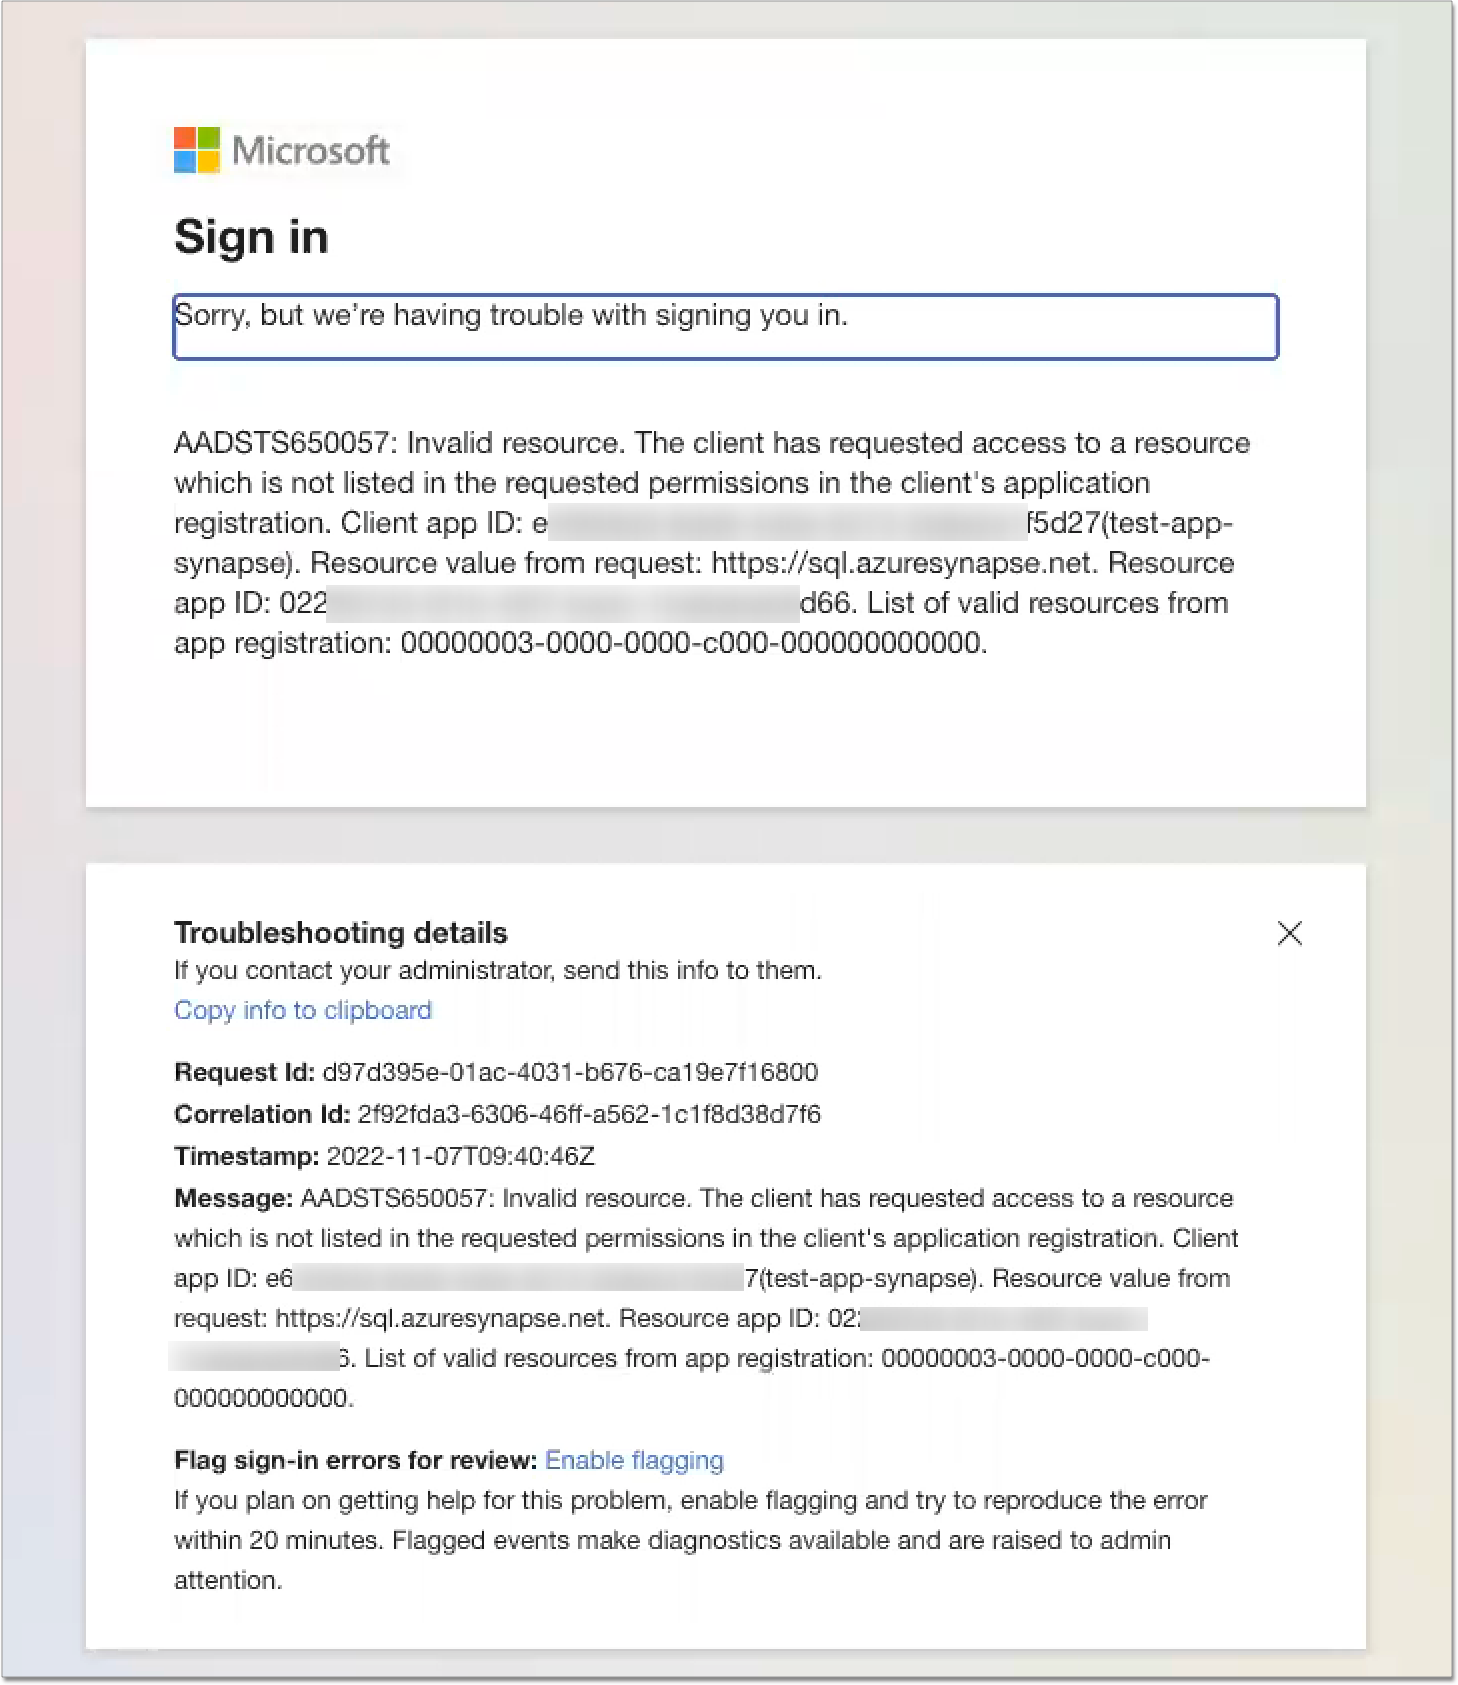
Under API / Permissions name, for Azure SQL Database, add the user_impersonation permission, as shown in the following image.
The Delegated type indicates that the application will authenticate on behalf of the user.


