Set row-level security rules
Learn how to set RLS rules. When rule-based row-level security (RLS) is set, it prevents users from seeing data they shouldn’t in tables and the objects derived from them.
You must have administrative rights on ThoughtSpot to set RLS rules.
Before you create a rule, make sure you have read How rule-based RLS works.
| Administrators can bypass the RLS rules set on a table at the worksheet level. |
Create a rule on a table
You can set RLS rules only on tables. To set up rule-based row-level security, do the following:
-
Select Data, and double-click a table.
-
Select Row security.
-
Select + Add row security.
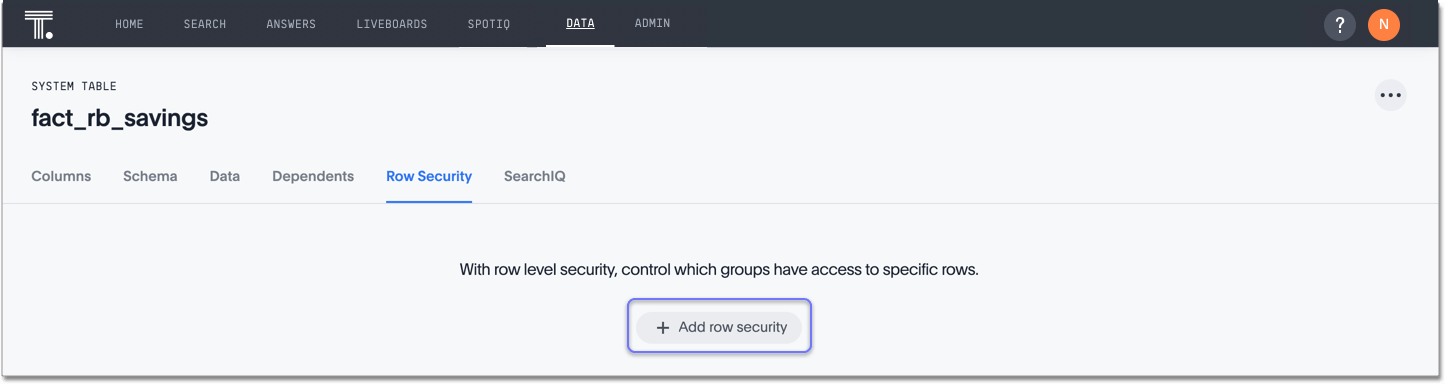
The system displays the Rule Builder.
You define row-level security by creating an expression that gets evaluated for every row and group combination. This powerful feature can be used with up to thousands of groups.
-
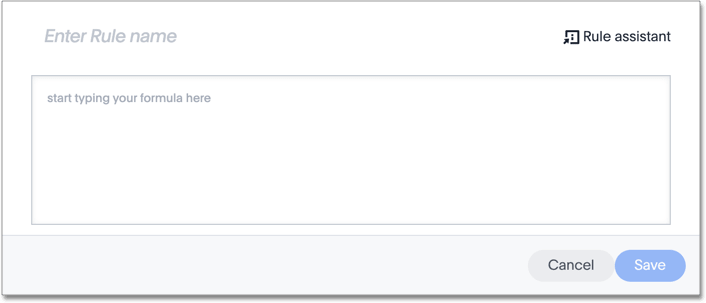
Open the Rule Builder.
-
Give your rule a name.
-
Enter an expression for your rule.
The rule gets evaluated against an authenticated user for every row and group combination. If the rule evaluates to
FALSE, the user can’t see that row’s data. Instead, they see the messageNo data to display.Use the variable ts_groups to refer to the group name.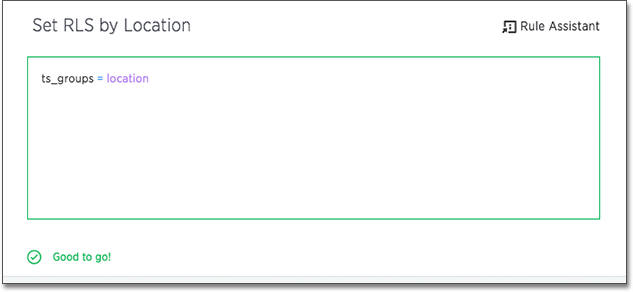
You can see a list of available operators by selecting Rule Assistant.
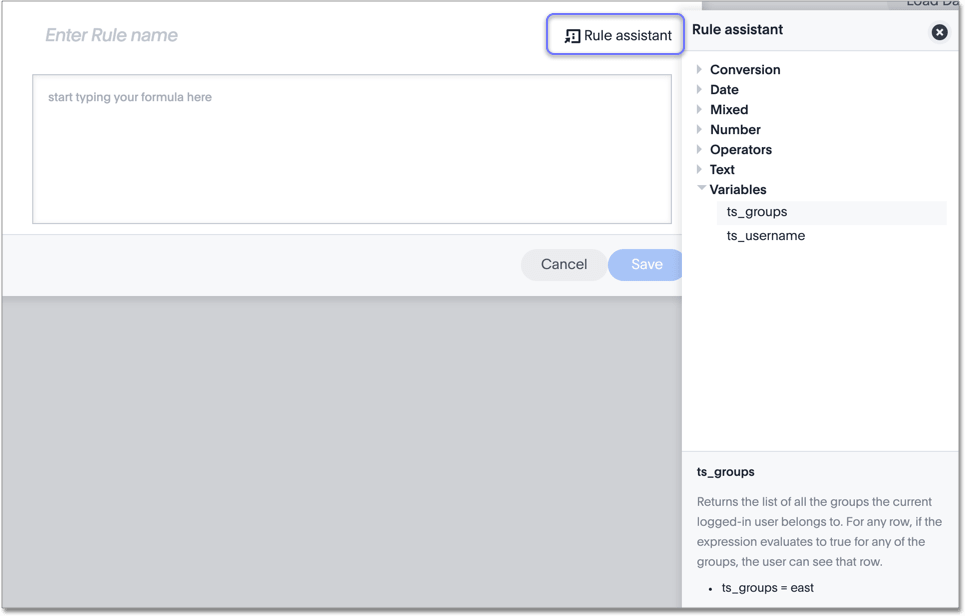
As you type, ThoughtSpot suggests formula syntax, variables, and column names. If you can’t remember the exact column name or variable you want to use, the suggestions can help.
When your expression is valid, a green indicator appears at the bottom of the Rule Builder.
RLS rules don’t support use of aggregate functions. -
Select Save.
-
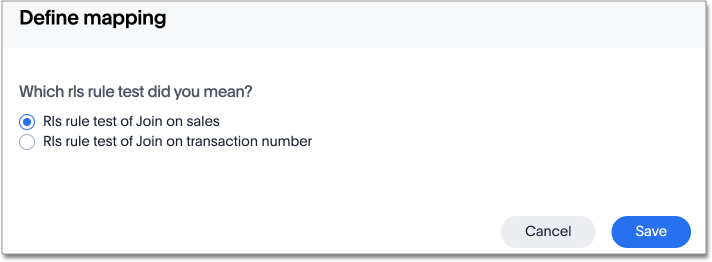
If your rule involves another table, and there are multiple joins between that other table and the table the rule is on, ThoughtSpot asks you to choose one of the join paths after you save the rule.
-
Select Save.
-
The rule you created appears in the list of Row Security rules. To edit the rule, select it in the list, and make any changes.
-
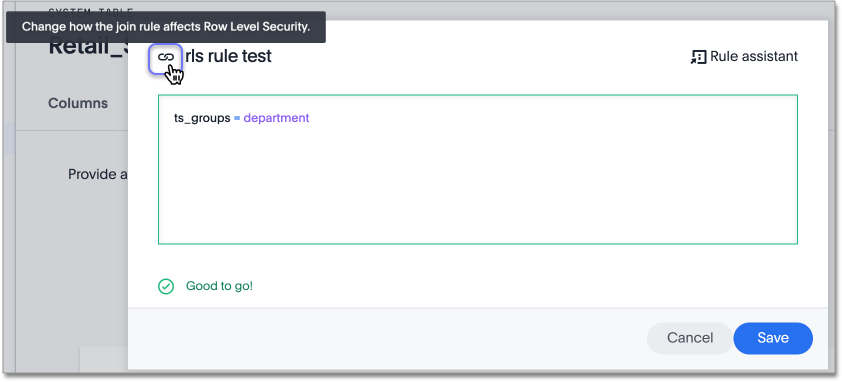
If your rule involves another table, and there are multiple joins between that other table and the table the rule is on, you can edit the join path you chose at any time. Select the icon in the upper left corner of the modal. If you hover over it, the icon says "Change how the join rule affects Row Level Security."
-
To add more rules, select + Add.
Test your rule with restricted and unrestricted users
To test your rule, sign in as users in different groups. Search within the table for data that your test user can and can’t access. Make sure your test users can see the appropriate rows.
Limitations
When creating an RLS rule for a table, you must use a specific format to allow ThoughtSpot to index columns from that table.
Expressions in RLS rules can be expressed using in, =, or !=. You can create RLS rules using columns, constants, or sub-expressions, for example, col1 = 'x', or col1 + col2 = col3.
Data indexing for a table does not work when != is used in the expression.
|
The following example will not work:
if (ts_groups = 'a' or ts_groups = 'b' or tsgroups = 'c') then col1 = 'x' else falseThe following example works:
ts_groups = if (col1 = 'x') then 'a' else 'none' or ts_groups = if (col1 = 'x') then 'b' else 'none' or ts_groups = if (col1 = 'x') then 'c' else 'none'Related information
For a list of operators and functions you can use to build RLS rules, see the row-level security rules reference.


