Share views
You can share Views with users or with groups. Sharing a View allows users to select it as a data source and search it.
When you share a View, you share all of its data. Sharing a View does not share the underlying tables. If you want to share the underlying tables, see Sharing tables and columns. A View can be shared by the owner of the View, or by an administrator. Users can start searching a View as soon as the View is shared with them.
You can share a View from the list of Views under Views on the Data tab, or from the View itself.
Share from the Data tab
To share a table, worksheet, or view from the Data tab, follow these steps. You can also share multiple objects at a time from the Data tab.
-
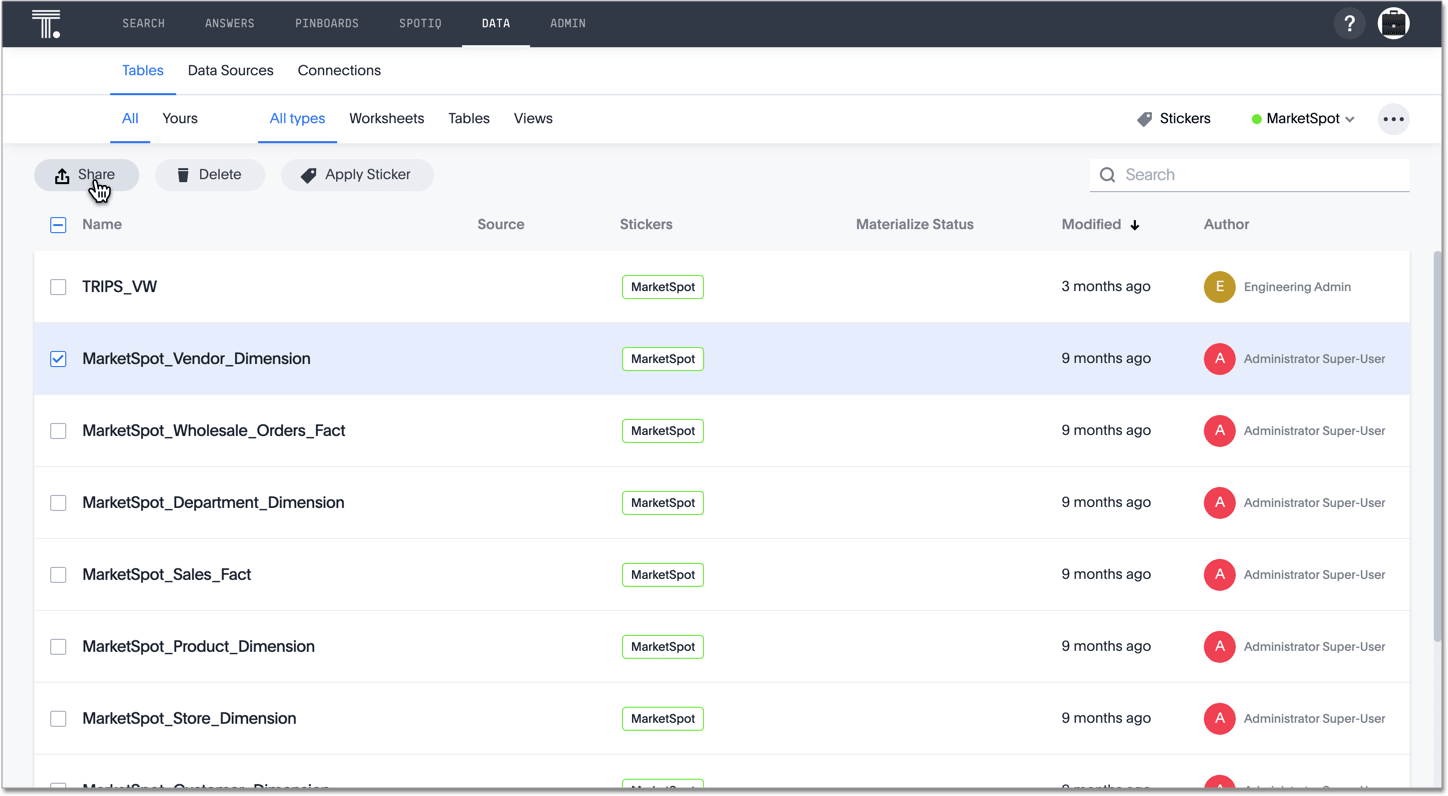
Click Data on the top navigation bar.
-
Hover over the dataset you want to share and select it by clicking the empty checkbox that appears.
-
Click Share.
-
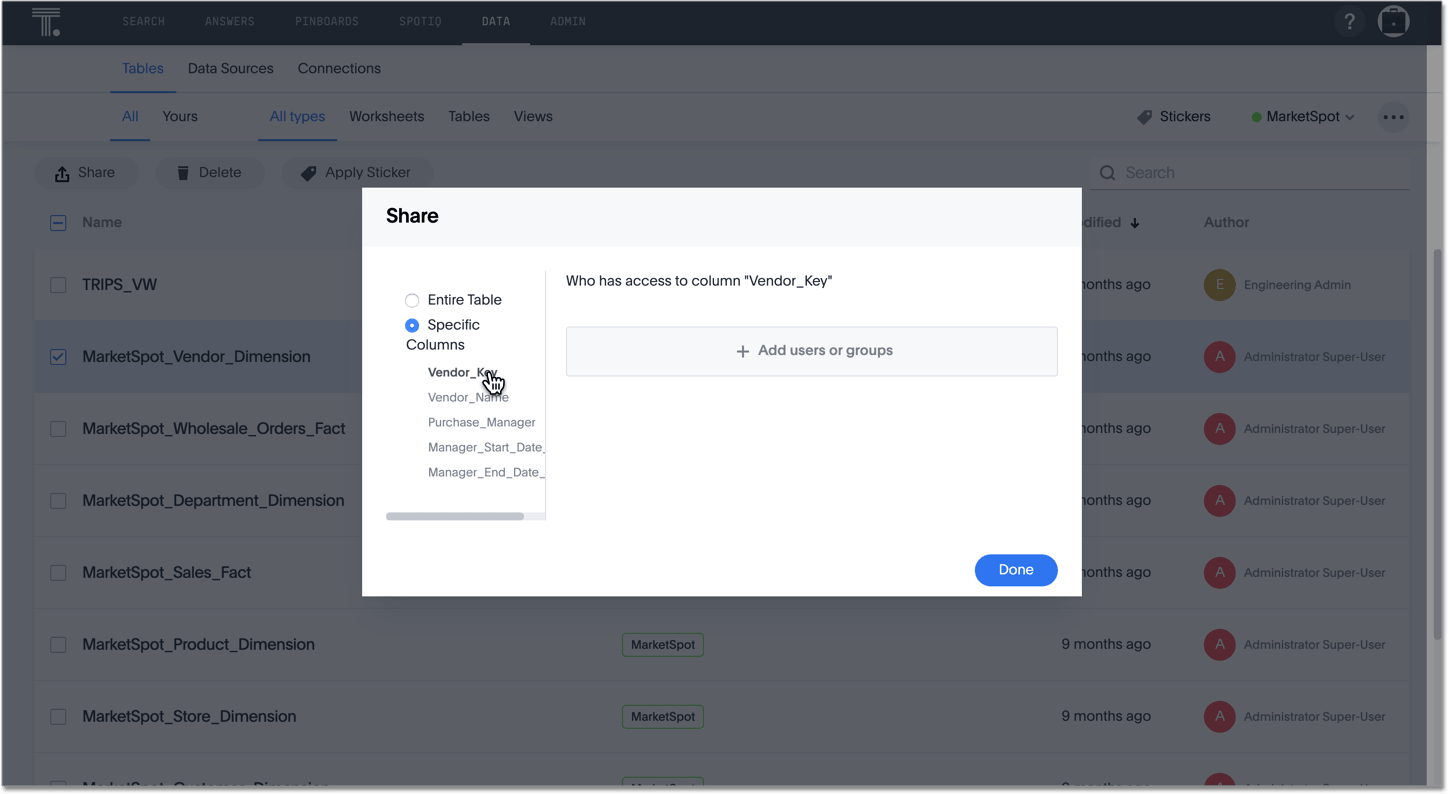
If you are sharing a table, select Entire Table or Specific Columns. To use Column Level Security (CLS), select Specific Columns, and only share the columns the users or groups should have access to.
-
If you select Specific Columns, select the column(s) you want to share, and add the users or groups you want to share the column(s) with. Use this option for Column Level Security (CLS). If you select Entire Table, skip to step 6.
You cannot click multiple columns at once. You must input the users or groups with whom you want to share for each column. -
Click + Add users or groups and select the users and groups with whom you want to share.

Share from within the dataset
To share a table, worksheet, or View from within the dataset, follow these steps.
-
Navigate to the dataset you want to share.
-
Click the More icon
 , and then click Share.
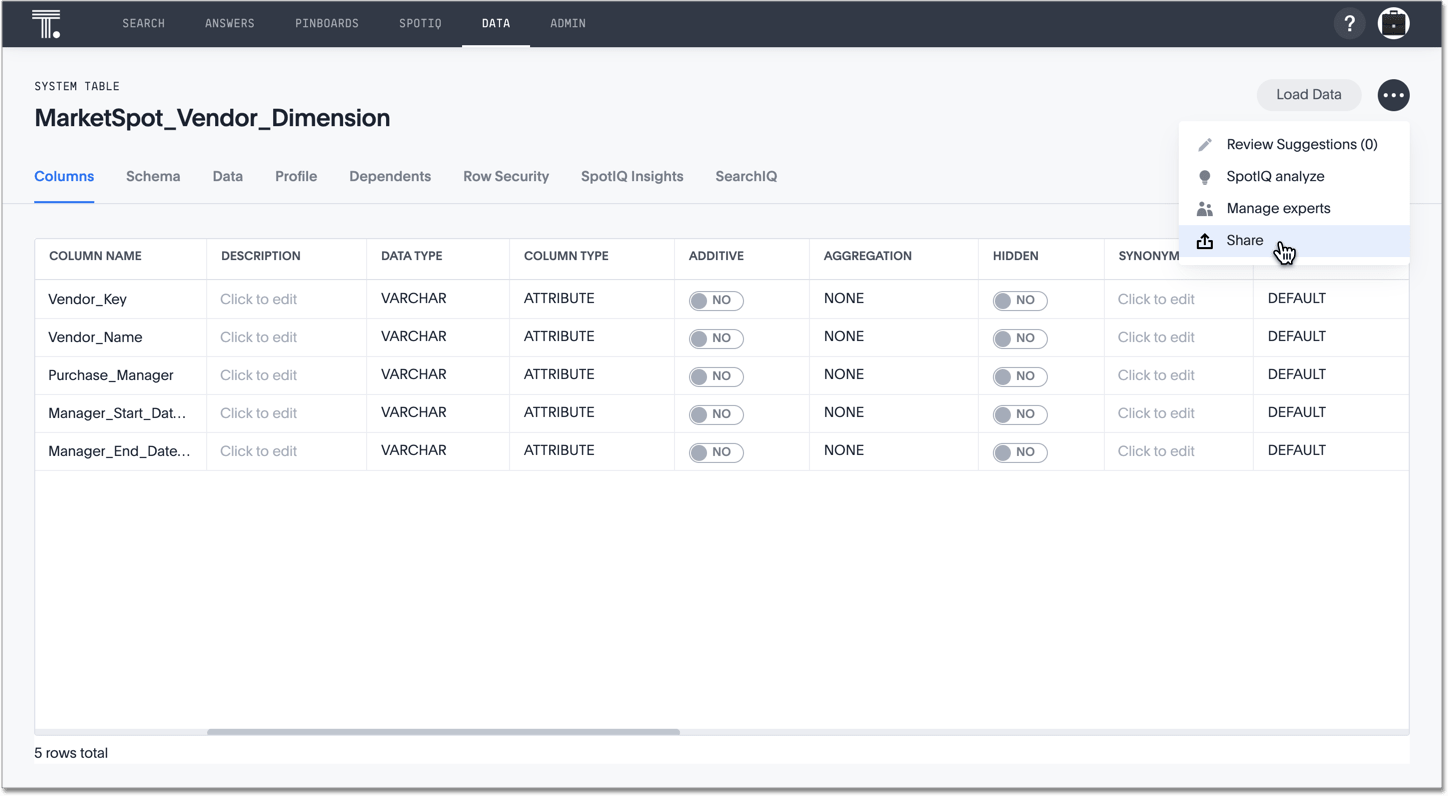
-
Select the users or groups with whom you want to share. + You can only share the entire dataset. You cannot share individual columns. To share individual columns, share a table from the Data tab. You cannot share individual columns for worksheets or views.
Specify permissions
-
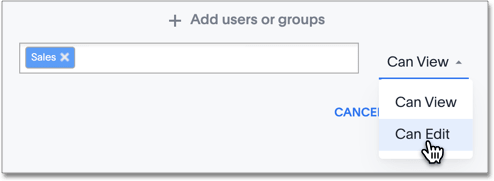
Configure the level of access by selecting from the dropdown list. You can select:
-
Can View to provide read-only access. This enables viewing the data source’s data. If the data source is a table, Can View also enables defining worksheets based on that data.
-
Can Edit to allow modification. This enables renaming, modifying, or deleting the entire data source and adding or removing its columns.
-
-
Click Add.
-
Click Done.
-
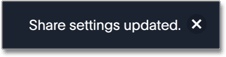
The Share settings updated notification appears on the bottom of your screen.