Connect the Appliance
Connect your Dell appliance before you can deploy ThoughtSpot.
After you rack and stack the appliance, it is time to configure it. Follow the steps in this checklist.
❏ |
|
❏ |
|
❏ |
|
❏ |
Step 1: Connect switches to 10GbE ports
Connect the 10GbE port of each node, as illustrated in Dell Port Location, to the 10GbE switches on your own rack, using either fiber or DAC cables.
Refer to the Cable reference for information on the cable types:
| Ask your hardware vendor for more details about what they supply and what you need to buy. |
The ports are on the back of the Dell appliance.

-
Connect to switches only the appliances (4 nodes each) that you plan to use in your cluster.
-
You must power off, or disconnect from the switch, any other nodes or appliances.
This prevents accidental configuration of incorrect nodes.
-
Connect all the nodes that you plan to use in your cluster to a 10G switch.
You need at least three nodes for high availability (HA). Each appliance can have up to four nodes.
Step 2: Connect iDRAC ports
Connect the iDRAC management ports of each node to the management switch. + See Dell Port Location.
Step 3: Connect a keyboard and monitor
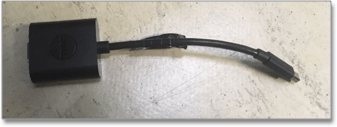
Connect a keyboard and monitor to the appliance. You need these to initially configure the appliance, and you can disconnect them later. Use the adapter Dell provides. Plug it into the Display Port shown in Dell Port Location, and plug the monitor in on the other side of the adapter.

Step 4: Turn on nodes
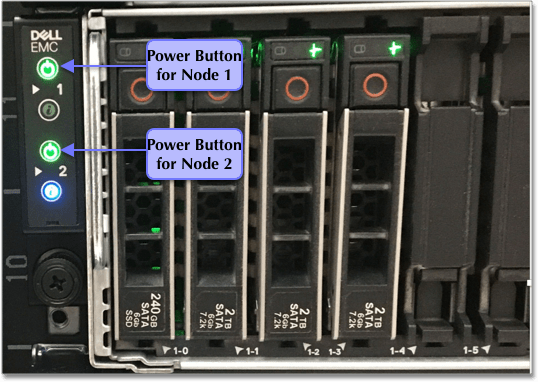
Turn on power for the nodes by pressing the power button for each one; see Dell Power Buttons.
There is one power button for each node. The image above shows two of the four power buttons.


