Add a Snowflake connection
After you enable ThoughtSpot Embrace, you can add a connection to a Snowflake database. This allows you to perform a live query of the external database to create answers and pinboards, without having to bring the data into ThoughtSpot.
Prerequisites
Before you add a Snowflake connection, ensure the default role of the account being used has been granted usage on the database and the schema, and select on the tables that will be added to the connection.
Example:
-
Grant usage on database
<databasename>to role<rolename> -
Grant usage on schema
<databasename>.<schemaname>to role<rolename> -
Grant select on all tables in schema
<databasename>.<schemaname>to role<rolename>
Adding a new connection to Snowflake
To add a new connection to Snowflake:
-
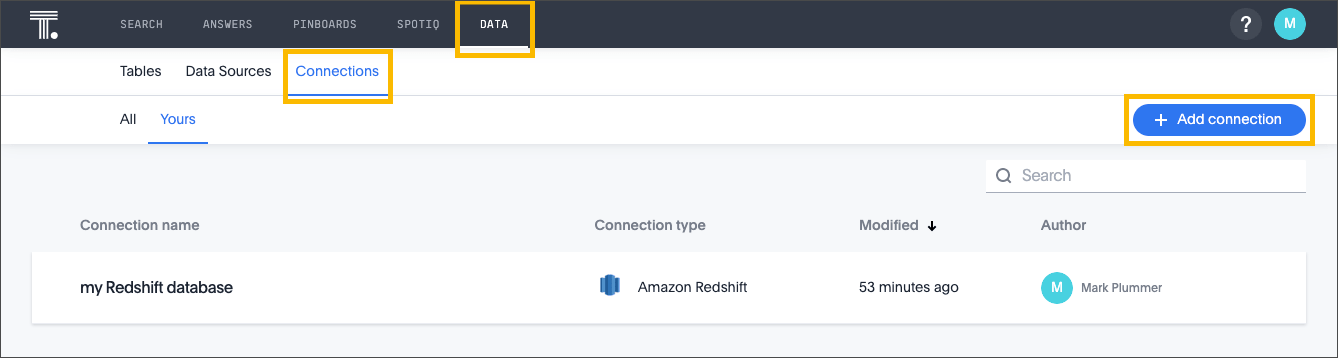
Click Data in the top navigation bar.
-
Click the Connections tab at the top of the page, and click + Add connection at the upper-right-hand side of the page.
-
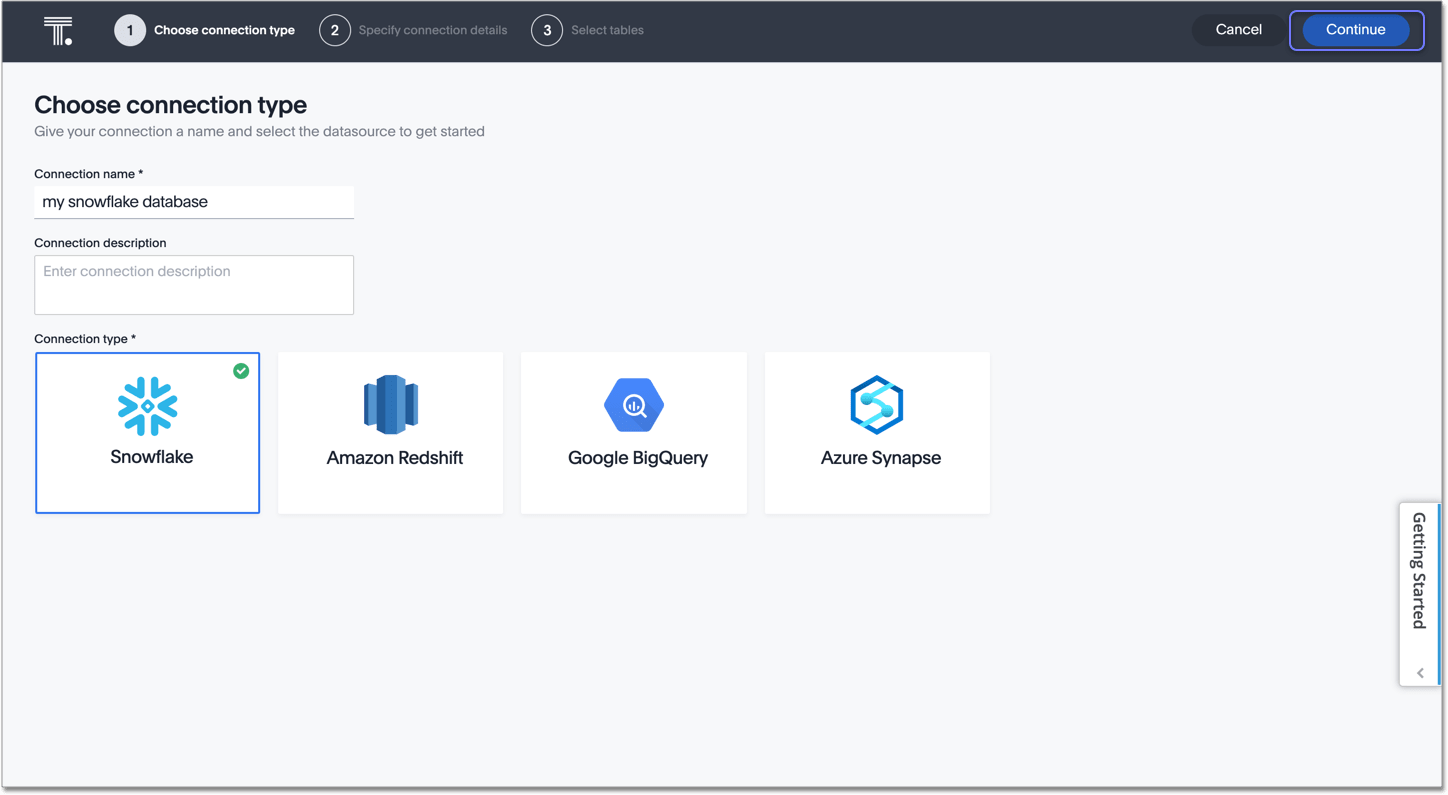
Create a name for your connection, a description (optional), then select the Snowflake connection type, and click Continue.
-
Enter the connection details for your Snowflake data source.
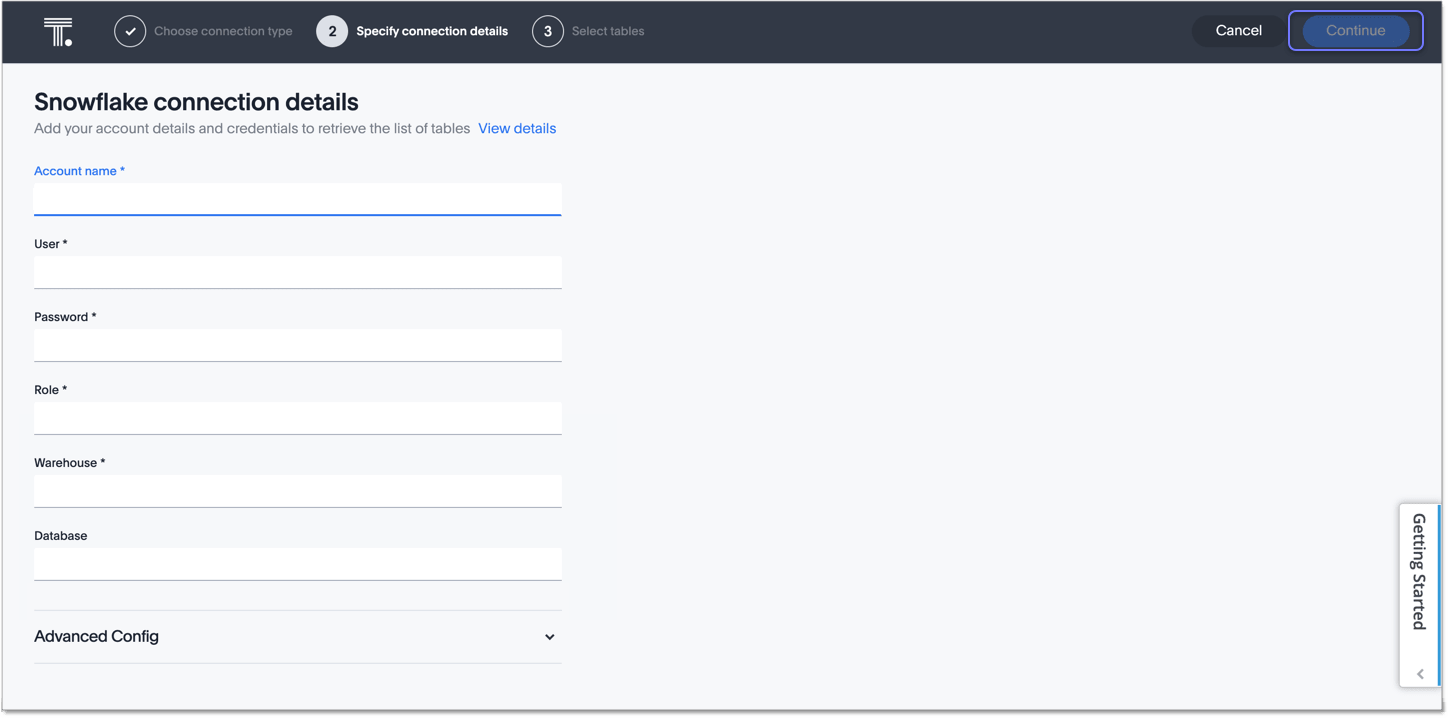
Refer to the Snowflake connection reference for more information on each of the specific attributes you must enter for your connection.
-
(Optional) Provide additional key-value pairs that you need to set up your connection to Snowflake, by doing the following:
-
Click the Advanced Config menu to reveal the Key and Value fields.
-
Enter your key and value information.
-
To add more keys and values, click the plus sign (+), and enter them.
Any key-value pairs that you enter must be defined in your Snowflake data source. Key-value pairs are case-sensitive. -
-
Click Continue.
-
Select tables (on the left) and the columns from each table (on the right), and then click Create connection.
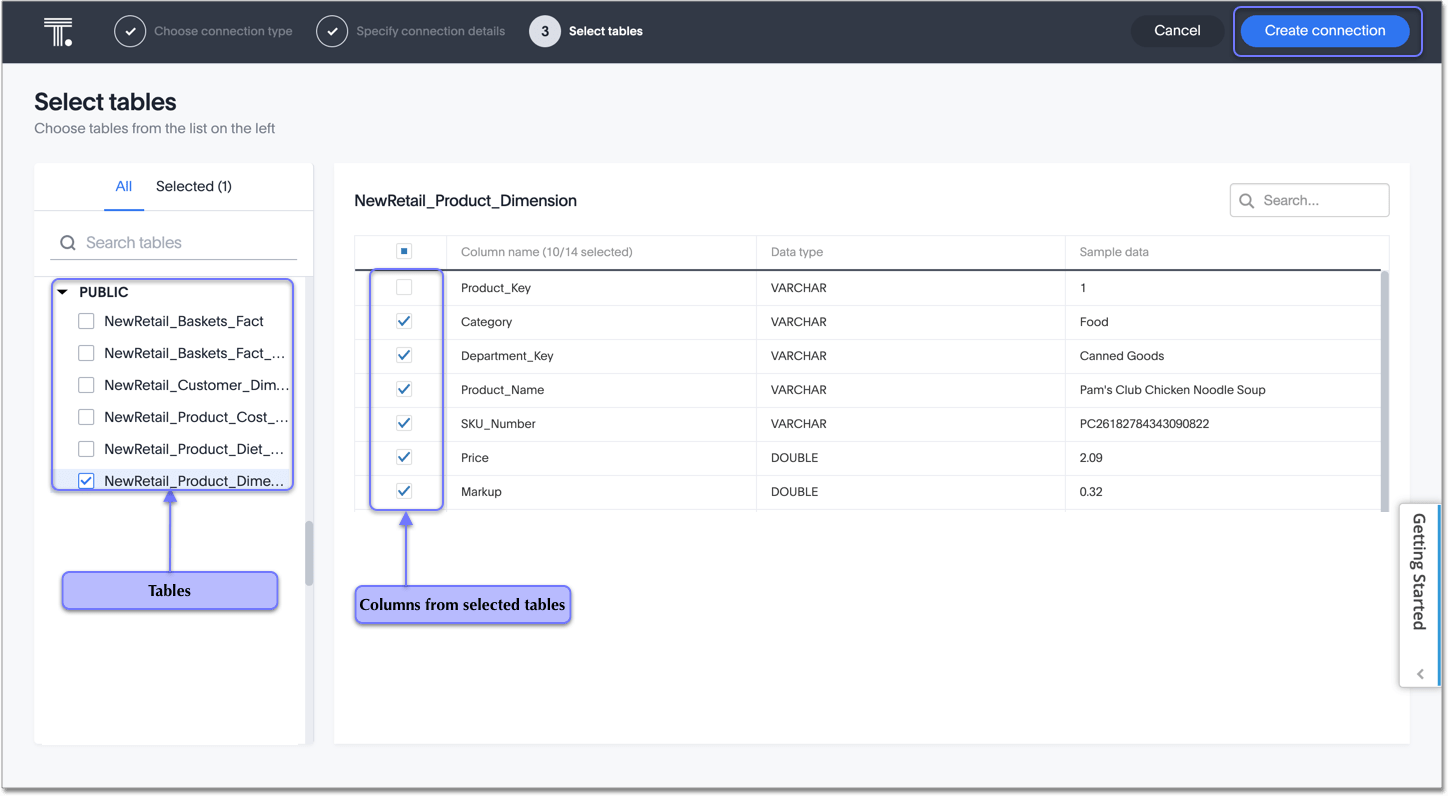
A message appears indicating the number of tables and columns that will be added to your connection.
-
Click Confirm.
Once the connection is added, you can search your Snowflake database right away by clicking Search now.
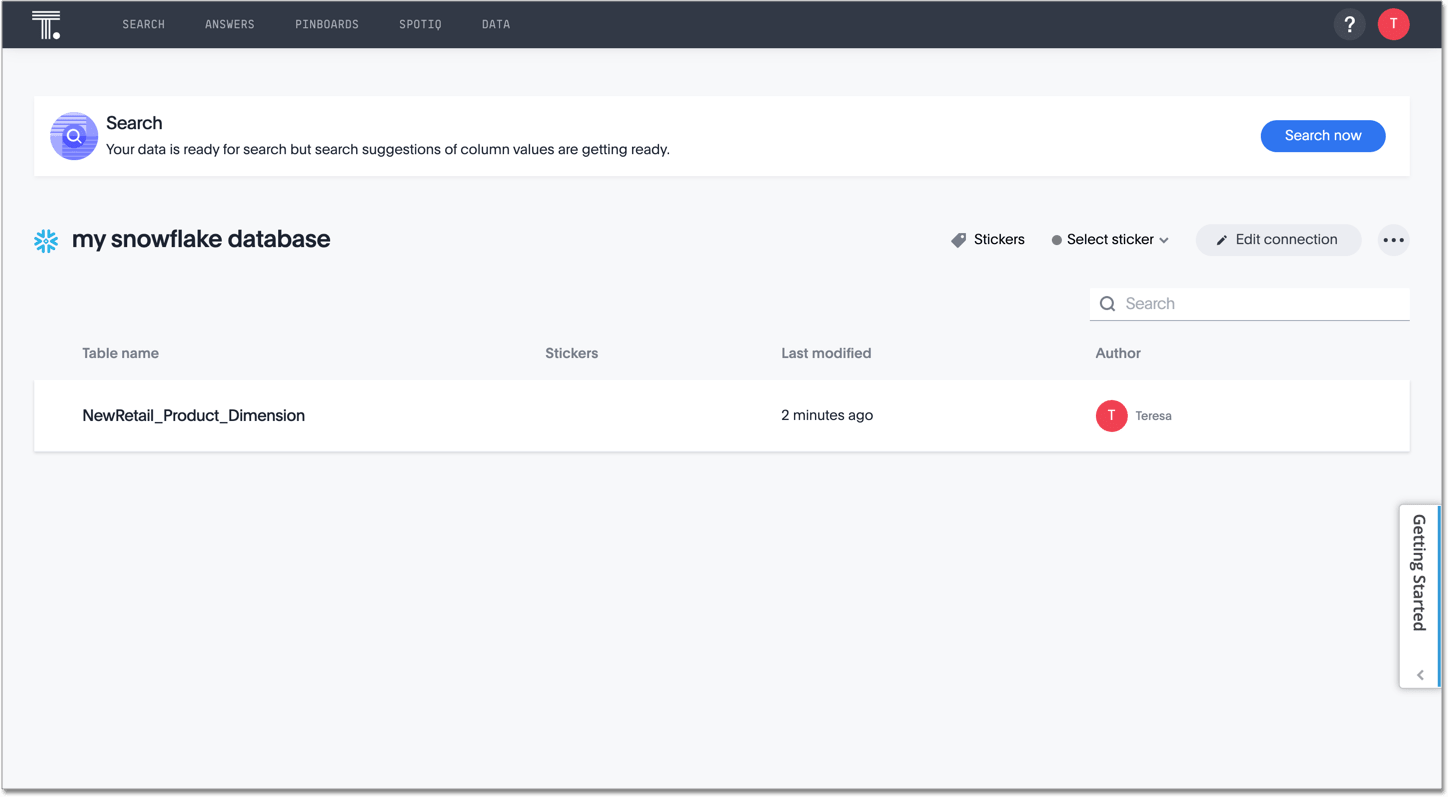
Your new connection appears on the Data > Connections page. You can click the name of your connection to view the tables and columns in your connection.
The connection you just created is a link to the external data source. If there are any joins in the selected tables of the external data source, those are imported into ThoughtSpot.
You can now perform a live query on the selected tables and columns of your connection. Because the selected tables and columns in your connection are linked, it may take a while to initially render the search results. This is because ThoughtSpot does not cache linked data. With linked data, ThoughtSpot queries the external database directly, which is slower than querying data that is stored in ThoughtSpot’s database.


