SQL-based views
With SQL views, you can quickly start using ThoughtSpot to get insights from your data. Simply create a connection to your external data warehouse, and you can run SQL queries against it. When you save these queries as SQL views, they become data sources that you can run traditional ThoughtSpot searches on, allowing you to create charts, tables, and Liveboards from the data.
SQL views are very similar to other ThoughtSpot views. Refer to Understanding views for an introduction to views and their use in ThoughtSpot. This article describes a specific type of view, the SQL view, which follows the same rules as other ThoughtSpot views.
Prerequisites
To create a SQL view, you must satisfy the following prerequisites:
-
You must have either the Can administer ThoughtSpot or the Can manage data privilege.
-
You cannot apply RLS rules to a SQL view.
Creating SQL views
To create a SQL view, follow these steps:
-
Connect to your data in your external cloud data warehouse. Note that you do not have to select any tables or columns to create the connection and start creating SQL views.
-
Got to the Data workspace tab and select + create new SQL view.
-
Choose a connection to the data you would like to query. Select Choose connection in the side panel, and select or search for a connection in the dropdown menu.
If you did not already create a connection, select Add new connection. Refer to the Connections documentation.
-
After you select the connection, a list of tables appears in the side panel, under the schema and database names. To see a list of the columns in a table, select the table name. A list of the columns and their data types appears.
-
In the SQL editor, write your SQL query.
The SQL you use must be compliant with your data warehouse’s SQL standard.
SQL views only support
SELECTandWITHclauses. Your SQL view can only contain one SQL statement.The SQL editor has autocomplete functionality, based on the tables and columns in your connection.
In the following example, after we type
select * from, the SQL editor suggests several tables. When we select theDIM_RETAPP_PRODUCTStable, the query autocompletes asselect * from RETAILAPPAREL.PUBLIC.DIM_RETAPP_PRODUCTS AS d, completing this part of the query and assigning the table an alias.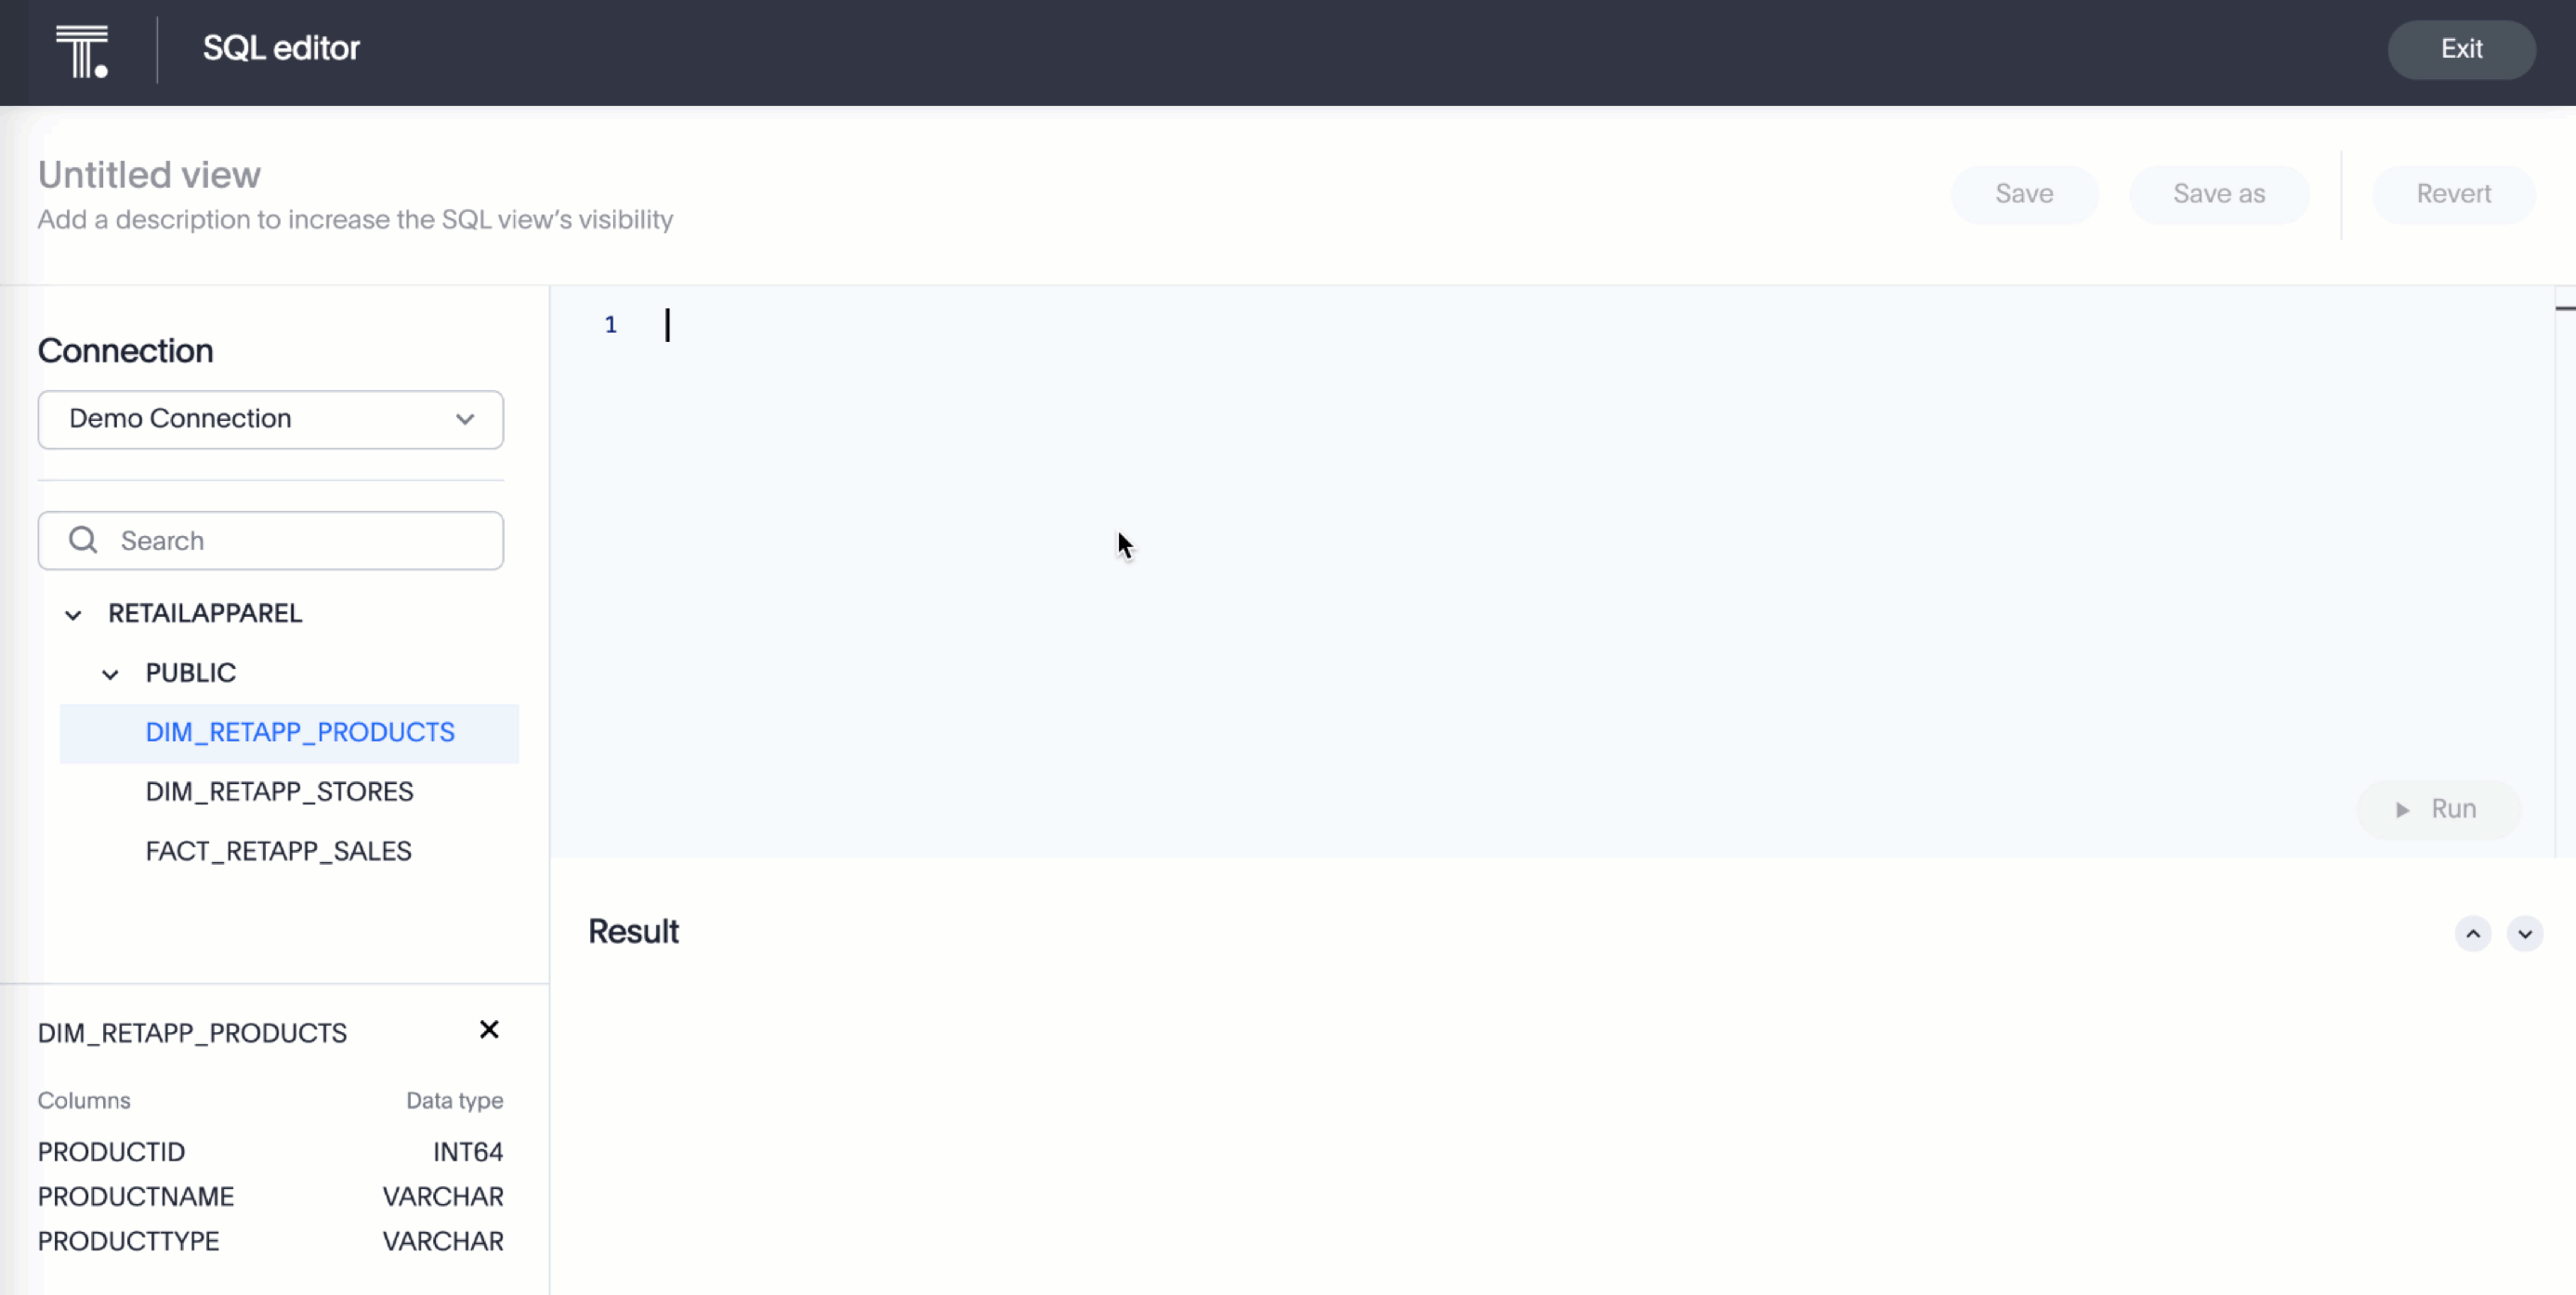
-
Select Run. The results of your SQL query appear in the Result section. You can collapse or expand this section, by selecting the up and down arrows in the upper right of the Results section.
-
Select Save.
-
The Save modal appears, and prompts you to name your SQL view. To improve the SQL view’s visibility, optionally add a description.
-
Select Save again.
-
To create a copy of the SQL view, select Save as.
-
To return the SQL view to its last saved state, select Revert. This button only appears after you save the view.
-
To open the SQL view you just created as a data source, select Open view details. Otherwise, when you finish editing the SQL view, save it and select Exit.
Editing SQL views
If you have can edit privileges on a SQL view, you see the Edit View button on the details page for the view. To edit the SQL query that the view is based on, select Edit View.
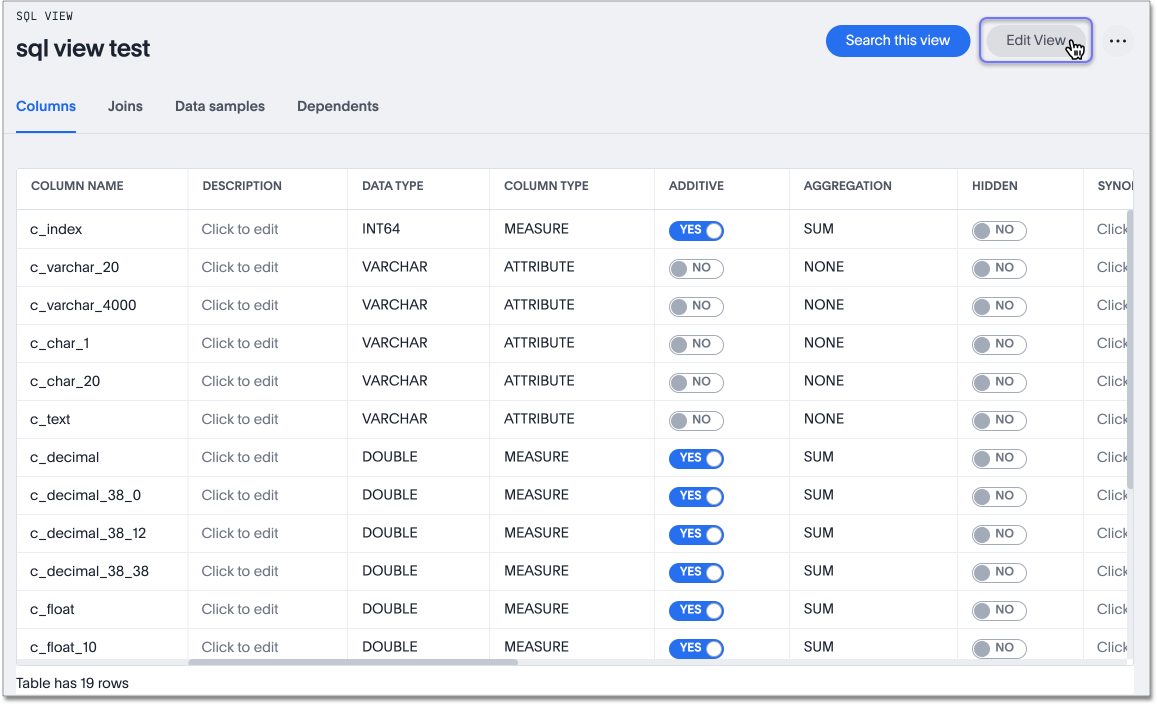
For information about how to edit the metadata of your view, see Data modeling settings.
Make a copy of a SQL view
You can create a copy of a SQL view, if you would like to make edits without changing the original SQL view. When saving, you can type in a different name for your copy.
-
Go to the Data workspace tab.
-
On the views list page, select the SQL view you would like to edit a copy of.
-
Open the More menu icon
 and select Make a copy.
The Make a copy dialog appears.
-
Change the name and description, as needed, and select Save.
When you navigate back to the Views page, your newly created View appears in the list.
Managing SQL views
You can use a SQL view just like any other data source. You can also join a SQL view to other tables or views by defining a relationship. When you save a SQL query as a view, and then use it as a source in a new search, it is similar to doing a nested query in SQL, only much easier to create.
You can perform the same actions on a SQL view that you can perform on a regular view:
Creating a search from a SQL view
After you create a SQL view, you can search on it. You can do this 1 of 2 ways:
-
Navigate to the SQL view you would like to search on, from the Data tab. Select Search this view. This opens the Search Data interface, where you can query your data.
-
Select Search data from the top navigation bar. Select the Choose sources icon, and select your SQL view. Select Done. This opens the Search Data interface, where you can query your data.
Related information