Share a connection
Users with can manage data or admin privileges can now share connections with other users or groups that have can manage data privileges. Once granted access to a connection, users can add, remove, and modify tables in that connection.
If you explicitly unshare a table belonging to the shared connection with a user or group who has access to that connection, that user or group loses access to the connection. They can no longer add or remove tables from the connection, or create custom SQL views.
To share a connection, follow these steps:
-
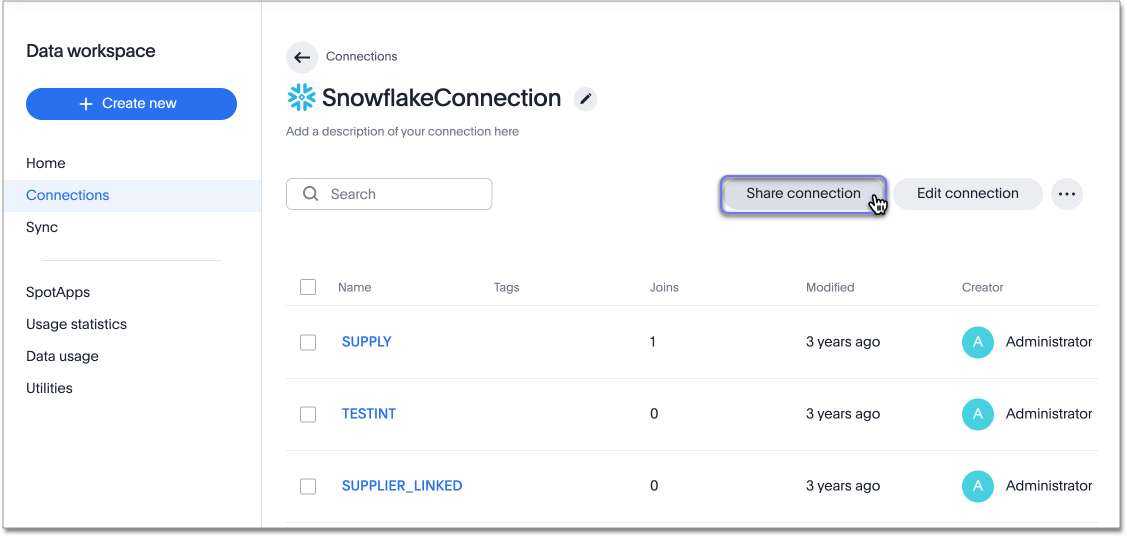
Navigate to the Data workspace and select Connections.
-
Select the name of your connection from the list of connections.
-
Click Share connection.
-
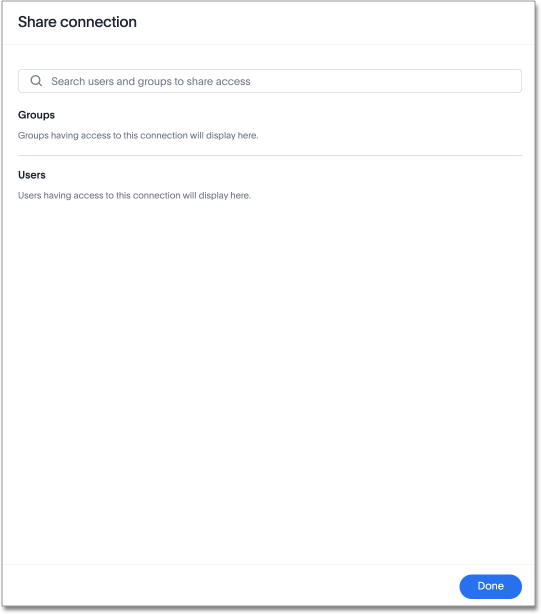
Use the search bar of the Share connection pop-up to find the name of the users or groups you would like to share a connection with.
-
Select Done.
| To remove access to a shared connection, open the Share connection pop-up and select Remove access to the left of the user or group name. |
Limitations
-
If a connection shared with you, you won’t be able to share it further.
-
The share button is hidden if you are not the owner of the connection.


