Query datasets
Cross-source data integration
Data mashup is a high-performance interface that allows you to perform SQL transformations across disparate data sources within a single Report. Traditionally, users were restricted to a single-connection architecture, meaning joins could only occur between tables residing in the same database. Data mashup removes this technical barrier by enabling joins across different Cloud data warehouses (CDWs) and flat files without requiring an ETL process to centralize the data first.
By leveraging SpotCache, Analyst Studio treats these independent datasets as local tables. This allows you to combine production warehouse data with tactical information such as CSVs or Excel files to create unified, searchable datasets that deliver instant performance.
|
Only datasets can be joined using this feature. Currently, this supports SQL-based datasets and flat file datasets (Google Sheets, Excel, and CSV). |
Create a combined dataset
To create a combined dataset, follow these steps:
Initiate the query
-
Open your Report and navigate to the Data section in the left sidebar.
-
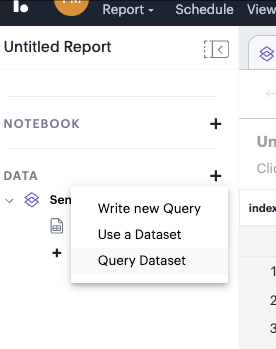
Click the + icon and select Query Dataset from the dropdown menu.
Import your datasets
The datasets you intend to join must be loaded into the Report’s context. You have two options for importing them:
- Direct Import
-
Select Use a Dataset from the initial menu to choose an existing dataset.
- Local Workspace
-
You can pick datasets after starting your query flow from the Local Workspace pane. Browse through your Collections, select the required dataset, and click Load Dataset.
Write the SQL join
Once the datasets are loaded, use the SQL editor to define your join logic.
- Syntax
-
All joins available in the ISO SQL standard are supported.
- Referencing datasets
-
Use double quotes around the dataset name (for example,
"india_lap_times"or"f1_drivers") to reference it as a table in your query.
SELECT
  d.refname,
  lt.*
FROM "india_lap_times" lt
INNER JOIN "f1_drivers" d ON lt.driverid = d.driverid
WHERE year = 2012;
Execute and review
Click Run to execute the join. By leveraging the cache layer, the system processes the join and displays the results in the Data tab below the editor. This allows you to verify the schema and data output before finalizing the new combined dataset.
Publish to the Data workspace
To publish the new dataset to the Data workspace for consumption on a Liveboard or Spotter:
-
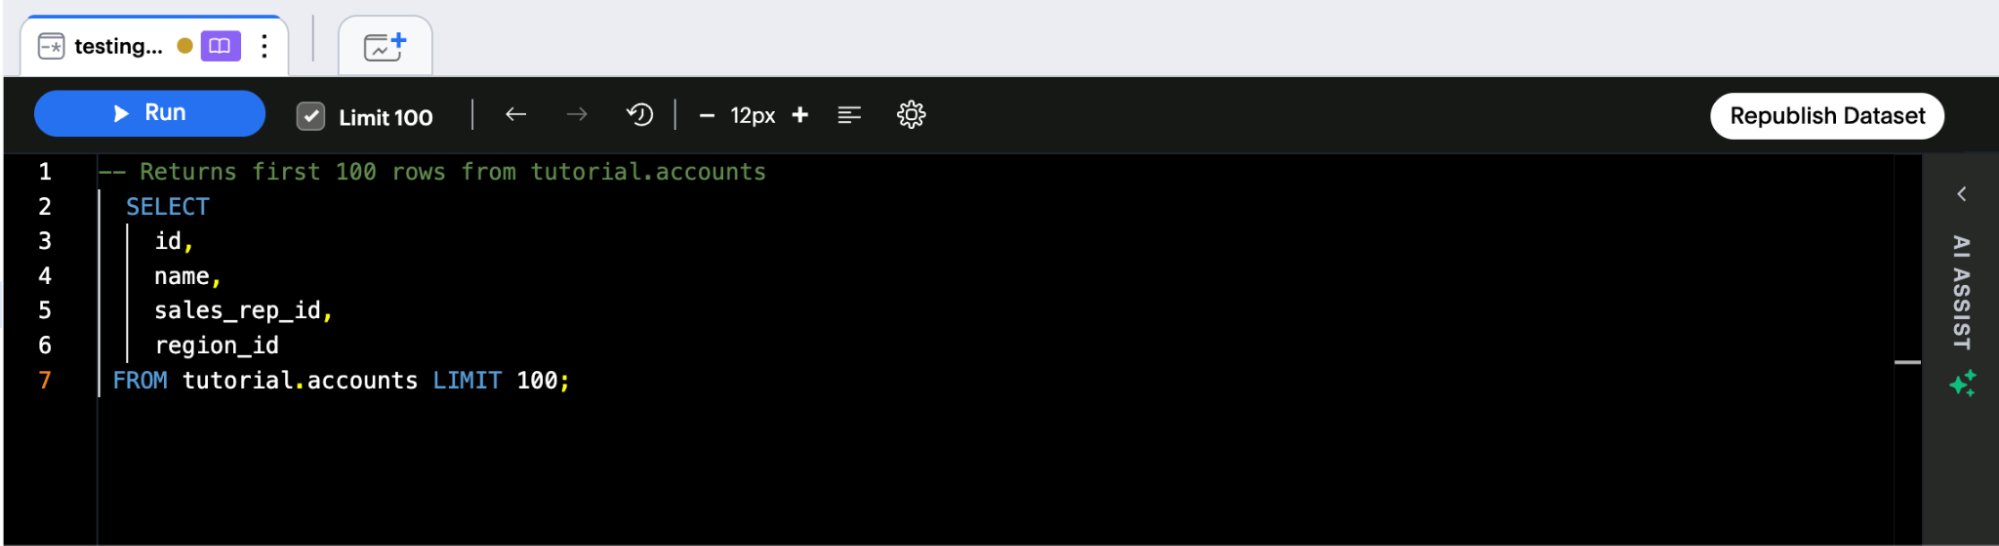
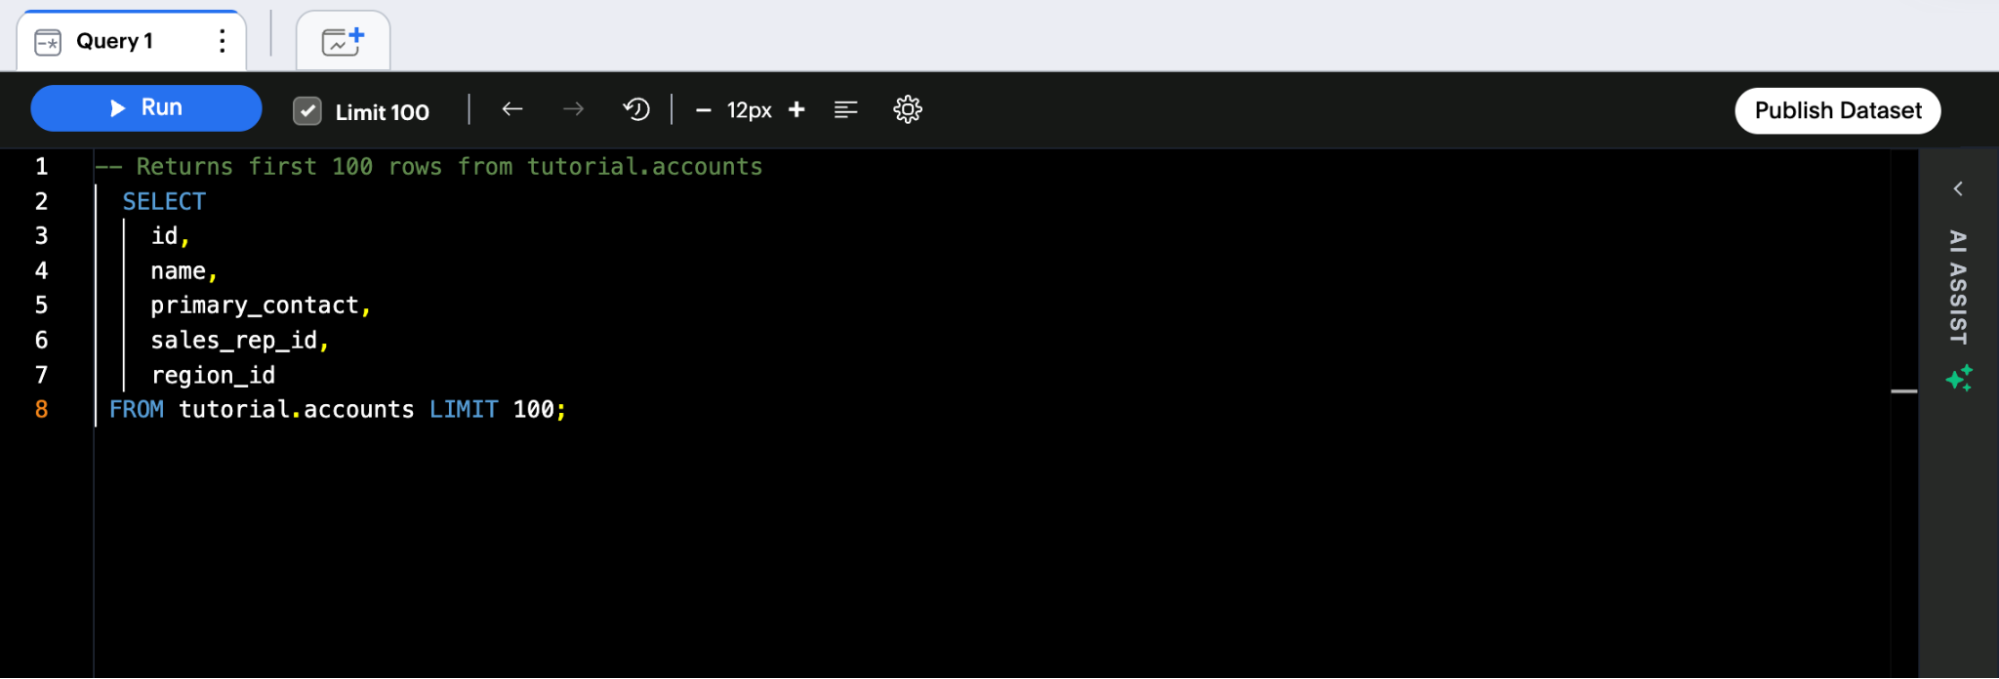
Click Publish Dataset at the top right of the query pane.
-
In the Publish to the Data workspace window, enter the dataset name and click Publish.
You can also publish from the Spreadsheet view: use the Edit in Spreadsheet option in the output window and click Publish Dataset in the top right corner of the Spreadsheet view.
Republishing after changes
After you publish, further changes are not applied to the published table automatically. Your edits are saved in a draft state, indicated by a small dot next to the query name.
To push the latest changes to the Data workspace, click Republish Dataset. Republishing updates the previously published table in place, so dependent Liveboards and Spotter content continue to work.
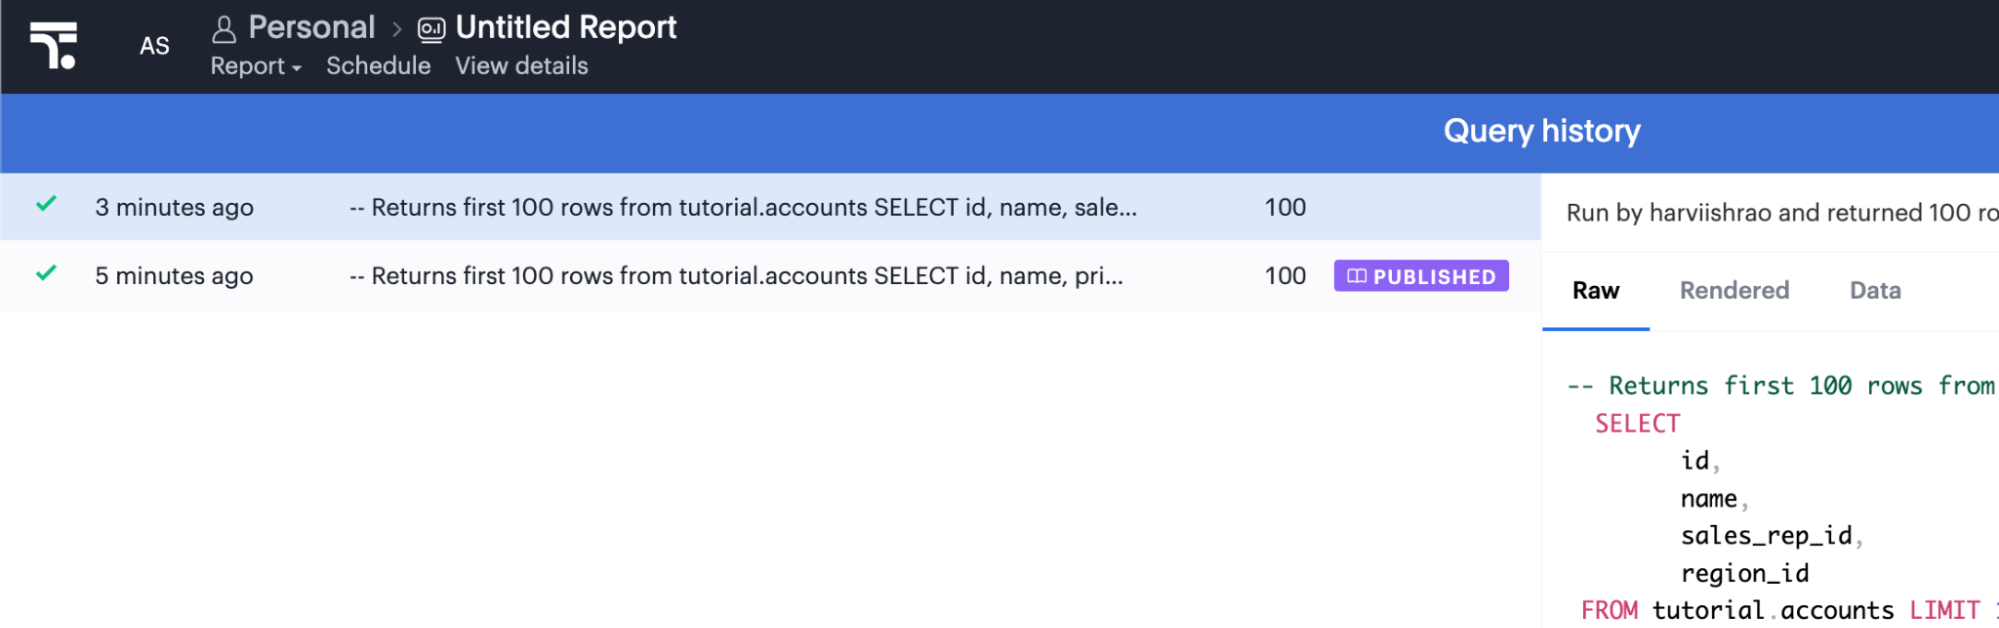
To review earlier runs and see which version is currently published, open the query history.
For full publish and republish behavior for Datasets, see Datasets (SpotCache).