Personalized Liveboards
Liveboards that contain consolidated data for all business users can now be personalized for a specific user or group. You can filter values to display only the information that is relevant to you, and save the personalized Liveboard. The personalized Liveboard retains the filter values, and remains synced with the original Liveboard. This allows you to bookmark a personalized Liveboard for easy access to the information you need, and eliminates the need to create a personal copy of a Liveboard which can result in copies falling out of sync with the original.
Users who don’t have access to the underlying data source can view a Liveboard but can’t interact with it by applying filters. Only users with access to the underlying data source can create and save personalized Liveboards. New filters can’t be added in a personalized Liveboard, they must be added in the original.
| If the original Liveboard is deleted, all personalized versions of it are deleted as well. |
Create a personalized Liveboard view
You can create a personalized view for any Liveboard that you can apply filters to.
-
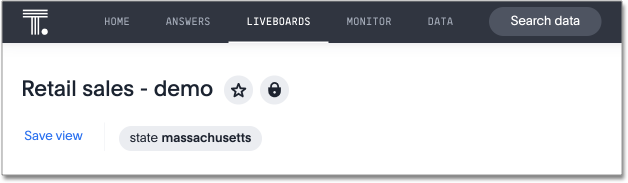
Open a Liveboard and apply your desired filters.
-
To save your personalized Liveboard view with these filters applied, select Save view.
-
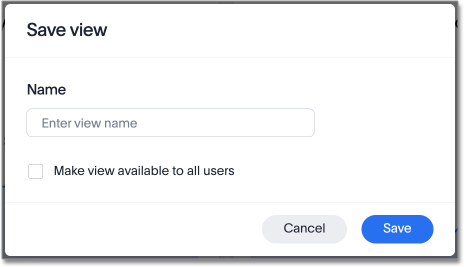
Enter a name for your personalized Liveboard view.
-
Select Make view available to all users if you want the view to be visible to others.
-
Click Save.
From a personalized Liveboard view, you can create additional views, update a view, manage views, or reset a Liveboard.
Update a personalized Liveboard view
You can update a personalized Liveboard view.
-
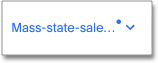
Open a personalized Liveboard view and apply your desired filters. A dot appears next to the view name to indicated that there are unsaved changes.
-
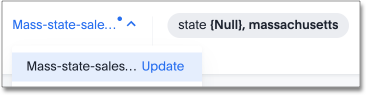
To update the personalized Liveboard view, click on the view name and select Update next to the view name in the drop-down menu.
| You can also create an additional new view by selecting Save view from the drop-down menu. |
Manage personalized Liveboard views
You can manage your personalized Liveboard views.
-
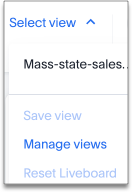
Open a Liveboard and click on Select view.
-
Select Manage views from the drop-down menu.
-
Click the checkbox to allow anyone to view the personalized Liveboard view, or Delete to remove the view.


