Configure CSV upload for your Databricks connection
CSV upload for Databricks is configured for each connection individually. Before configuring it, you must have a pre-defined schema and database in Databricks. When uploaded, the data goes to memory and is then pushed to Databricks. No uploaded CSV data is stored in ThoughtSpot.
| To enable CSV upload for Databricks for your cluster, contact your administrator. Once this feature is enabled, your administrator can configure CSV upload for each Databricks connection. |
Configuring CSV upload for your Databricks connection
To configure CSV upload for your Databricks connection:
-
Select Data in the top navigation bar.
-
Open the Connections tab in the left navigation bar.
-
Select the name of the Databricks connection in which you want to enable CSV upload.
-
Click the More menu
 for the connection, and select Configure data upload.
 -
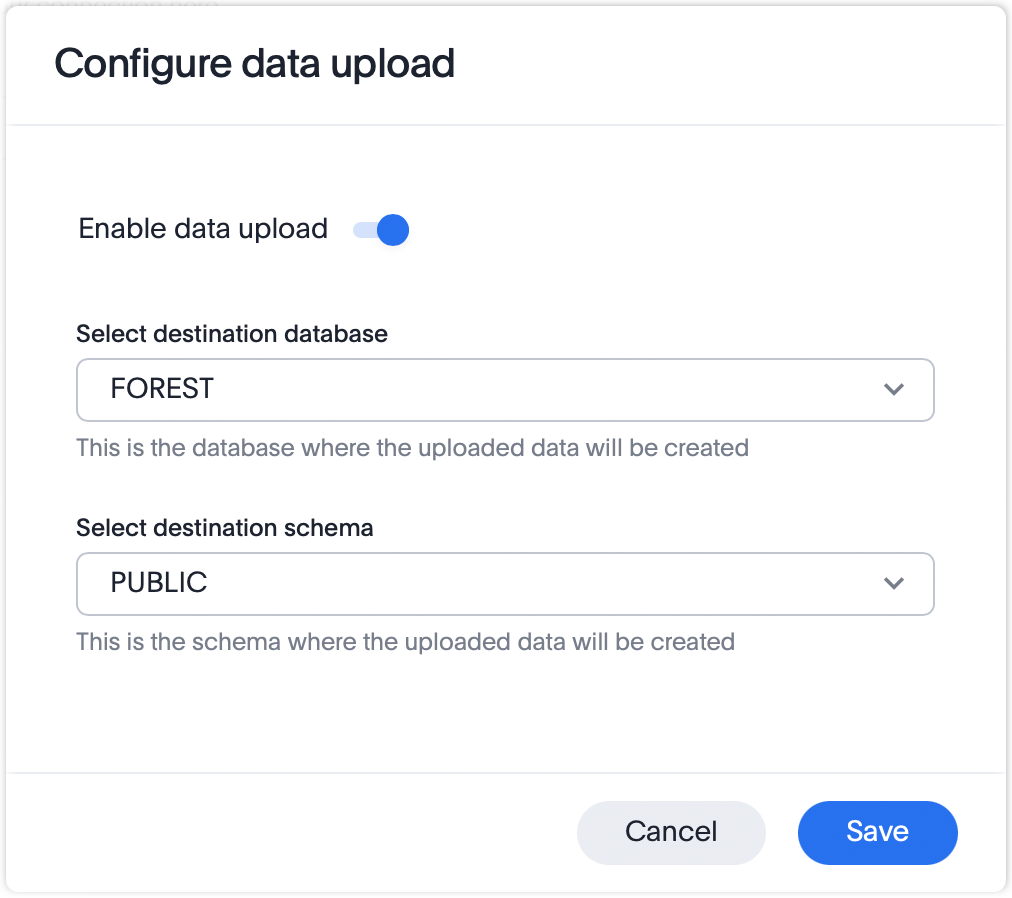
In the Configure data upload window, select the toggle for Enable data upload to enable the feature.
-
From the Select destination database menu, select the Databricks database where you want to create the uploaded CSV data.
-
From the Select destination schema menu, select the schema where you want to create the uploaded CSV data.
-
Select Save.


