Edit a Redshift connection
You can edit a Redshift connection to add tables and columns.
To edit a Redshift connection:
-
Navigate to Data workspace > Connections.
-
Select the name of the connection you want to edit.
-
Click Edit.
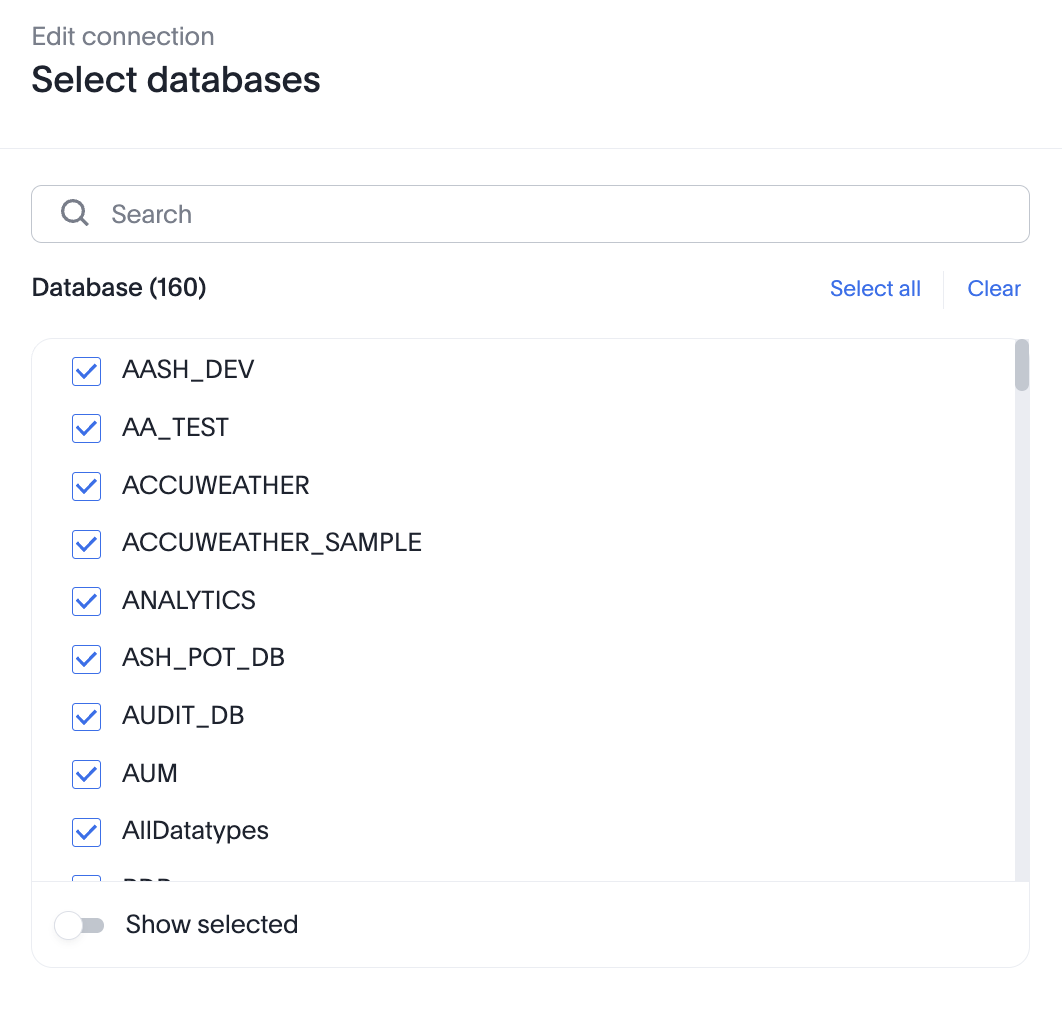
By default, the Select tables page appears. You have the option, though, to change the connection name and update the connection details, by selecting the appropriate option at the top of the screen, making any changes needed and selecting Continue to go to the next page.
-
Expand the database table dropdown menu, and select the tables and columns you want to add.
-
Click Next, and then select Validate and save to save the updated connection detail.
Validate metadata
You can now validate connections to discover any changes in metadata after the connection was created. When you validate a connection, ThoughtSpot provides a JSON file containing details on any metadata changes. Once alerted to a metadata change, you can use TML to update the connection.
To validate your connection:
-
Navigate to Data workspace > Connections.
-
Select the name of the connection you want to validate.
-
Click Validate.
-
If ThoughtSpot detects any changes to the connection’s metadata, it displays an appropriate message. Else, it gives a message stating successful validation.
To remove a table from a connection, delete it from the connection details page. For more information, see:
To change the mapping of tables and columns, see Remap a Redshift connection.
See the Connection reference for details of connection parameters.


