Manage DataFlow users
Learn how to add and manage users in DataFlow.
Note that you must have administrator privileges to perform these actions.
Create a new user
-
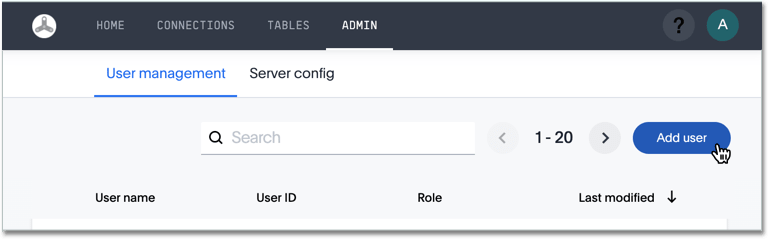
Click Admin on the top navigation bar.
-
In the User management interface, click Add user.
-
In the Add user interface, specify the following properties:
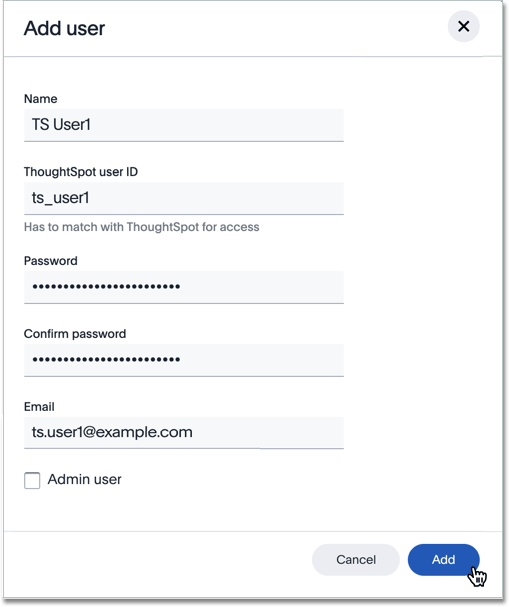
- Name
-
Specify the name of the account holder.
- ThoughtSpot user ID
-
Specify the user ID, or account. Must match an existing account in ThoughtSpot.
- Password
-
Enter a password; does not have to match password in ThoughtSpot.
- Confirm password
-
Enter the combination of characters that matches the Password.
-
Specify the email of the account holder; must be in safelisted domain.
- Admin user
-
Specify if this account has administrator privileges.
-
Click Add.
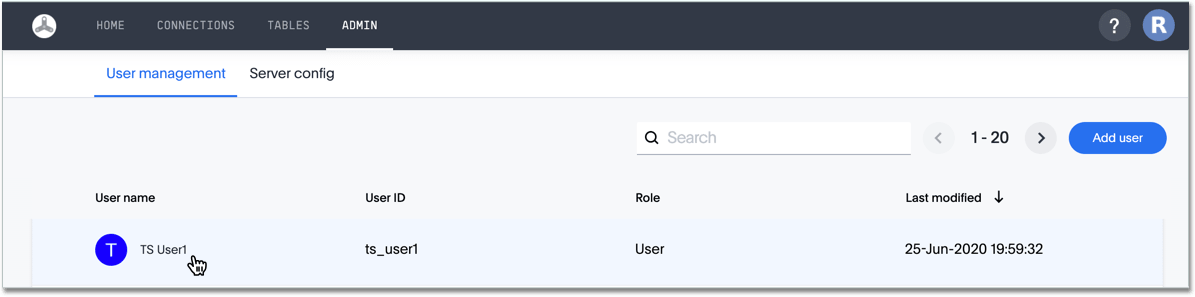
You can now see the new user in the list of users.
Change user properties
Follow these steps to make changes to an existing user account.
-
Click Admin on the top navigation bar.
-
In the User management interface, select the user you want to change.
-
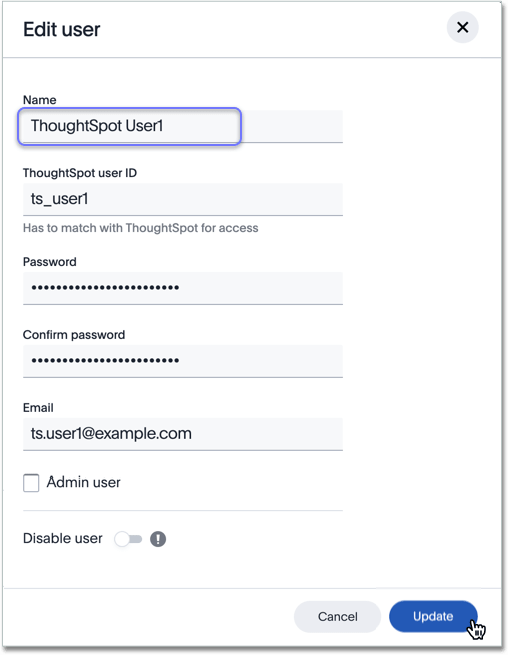
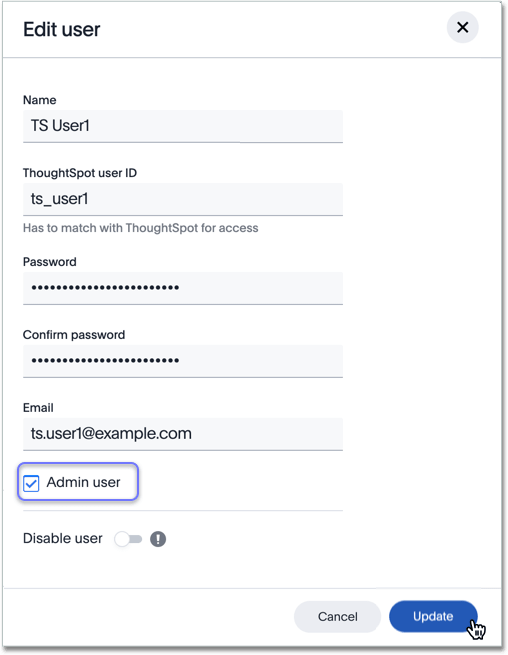
In the Edit user interface, change any of the properties, and click Update.
-
Change name: In this example, we changed the Name associated with the account.
-
Change password: To change the password for the account, enter the new password and confirm it.
-
Make admin: To promote a regular user to administrator status, select the Admin user checkbox. To demote an existing admin user to regular user status, unselect the Admin user checkbox.
-
Disable user: To disable a user, turn the toggle on. To enable a user again, turn the toggle off.
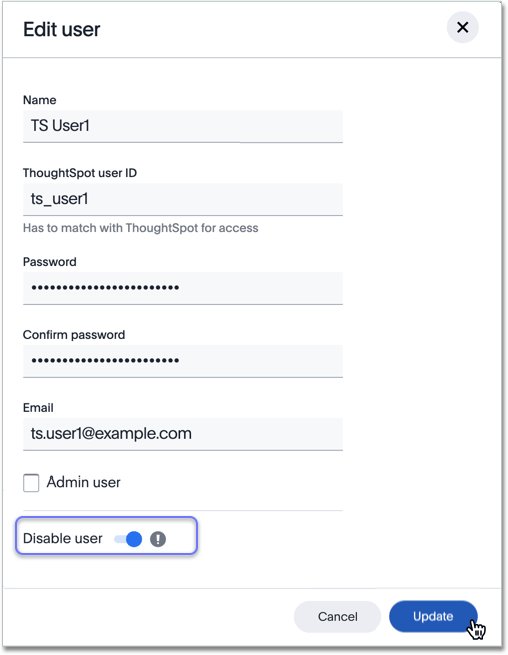
A disabled user still appears in the list of users, with a Disabled tag.

-


