Use the Data Push API
This procedure shows how to use the Data Push API to send data from ThoughtSpot to another application.
The Data Push API allows you to open a web page in the context of the ThoughtSpot application. This third party web page will then have access to the results of the ThoughtSpot search from which it was invoked. This is useful when you want to initiate an action in another application based on the result of a search in ThoughtSpot. The Data Push API was introduced in ThoughtSpot 5.0.
An example of pushing data to another system to trigger an action would be where you do a search to find customers who are coming due for renewal of their contract in the next month. You could then trigger an action that brings up a web page from an external billing system. The billing system could be set up to read the data (list of names, emails, products, and renewal dates) from ThoughtSpot. The billing system might then add the price, generate an invoice for each customer, and send it by email.
To have the Data Push API functionality turned on, contact ThoughtSpot Support.
The DataPush API makes the data available to the external application formatted as JSON (JavaScript Object Notation). You must parse the JSON to get the data values you need using JavaScript in the receiving application.
Create an Custom Action
To create a Custom Action, you must have the Can administrate ThoughtSpot privilege.
Use this procedure to create an Custom Action in ThoughtSpot:
-
Log in to ThoughtSpot from a browser.
-
Choose Admin and then Action Customization.
-
Click the Add custom action item button.
-
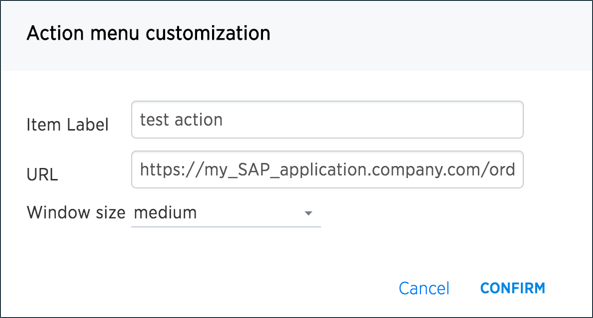
Fill in the details for your custom action:
-
Item Label: Clicking the menu item with the name you provide here will initiate the data push to the other system. This menu item will appear under the More menu
 of a search result.
 -
URL: The URL of the target page in the external web page or application.
-
Window size: The size of the window that will display the external web page or application in ThoughtSpot.
-
-
Now when a user is viewing a search result, they’ll have the option to use the Custom Action you created. To initiate the action, they’ll click the More menu icon
, and select Your Action Name.
Notice a Custom tag next to your action name;
it indicates that this is something custom built, and not a ThoughtSpot action.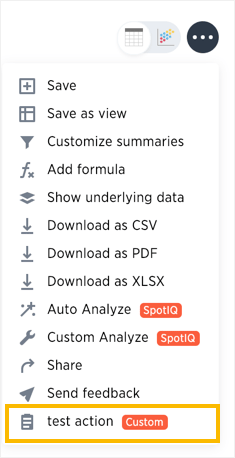
-
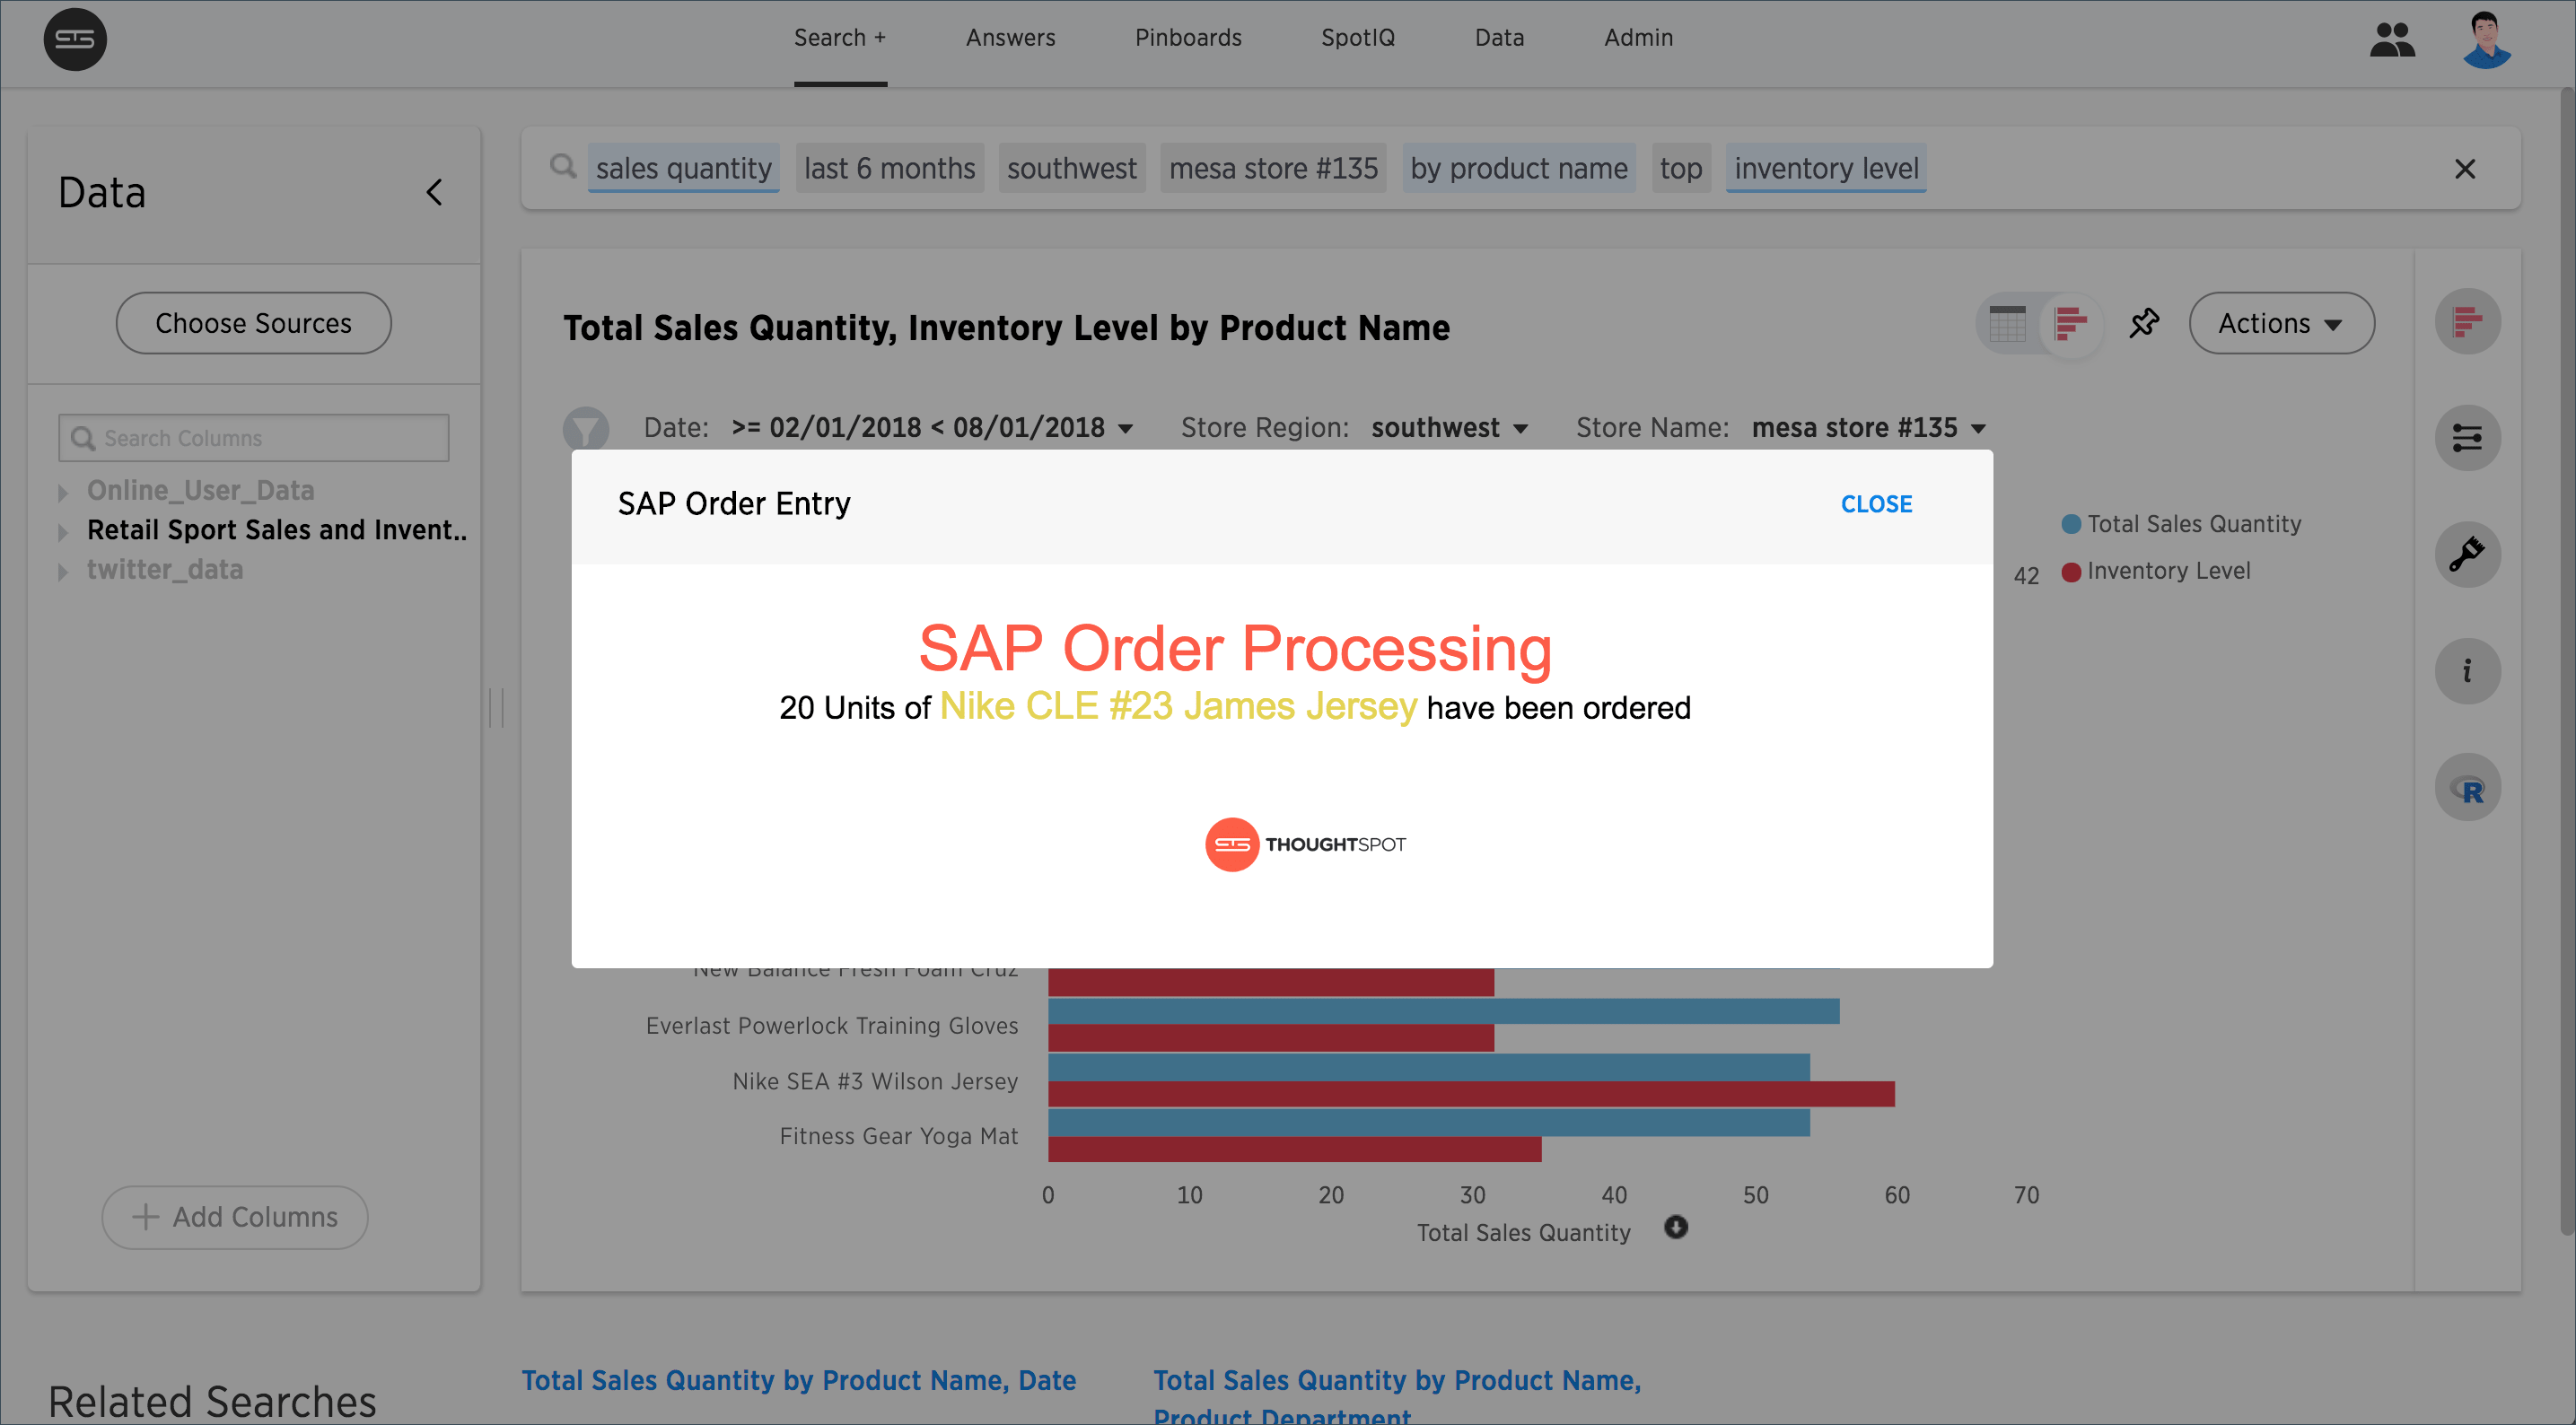
When a user clicks your action, they’ll see the web page you entered as the URL for your custom action.
| In order for your action to work correctly, the answer from which the user selected the action needs to have the correct search terms which your application or web page is expecting to receive. There is no way to guarantee this, other to train your users on the purpose of your action, and what’s required for it to run. |
Sample application
Here is a sample application you can use to try out the Data Push API:
<!doctype html>
<html lang="en">
<script src="https://ajax.googleapis.com/ajax/libs/angularjs/1.6.9/angular.min.js"></script>
<script type="text/javascript" src="api/api.js"></script>
<body>
    <script>

        var app = angular.module("latestData", []);
        app.controller("dataCtrl", ['$scope', '$window', function($scope, $window) {

            $scope.currentData=undefined;
            $scope.showData=false;
            $scope.displayData = function() {
                $scope.showData = true;
            };
            function currentDataCallback(event) {
                $scope.currentData = event;
            }
            $window.onload = function(){
                $window.thoughtspot.getCurrentData(currentDataCallback);
            };

        }]);
    </script>
    <div ng-app ="latestData" ng-controller="dataCtrl">
        <button class="get-data" ng-click="displayData()">Click here for latest exported data</button>
        <div class="display-data" ng-if="showData"> {{currentData}}</div>
    </div>
</body>
</html>


