Create and use worksheets
Worksheets are flat tables created by joining columns from a set of one or more tables or imported datasets.
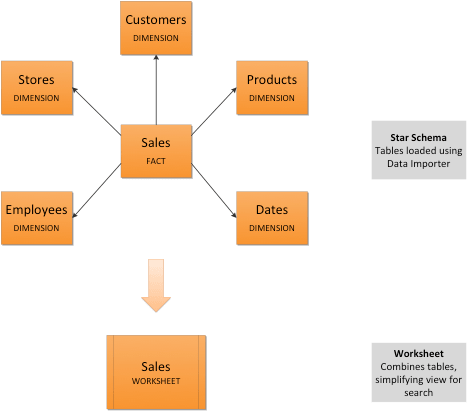
After modeling your data, create Worksheets to make searching easier. For example, a sales executive might need to search for information about retail sales. This data might be contained in several tables (sales, customers, products, stores, etc.), with foreign key relationships between them. An administrator who is familiar with the data model can create a retail sales worksheet, that combines all of the related fact and dimension tables into a single, easy-to-use view, and share it with the sales executive. This provides access to the data without requiring an understanding of how it is structured.
Guidelines for worksheets
Users are often unfamiliar with tables and how they are related to one another. A Worksheet groups multiple related tables together in a logical way. You might use a Worksheet for these reasons:
-
To pre-join multiple tables together.
-
To give a user or group access to only part of the underlying data.
-
To include a derived column using a formula.
-
To rename columns to make the data easier to search.
-
To build in a specific filter or aggregation.
-
To give users a filtered set of data to search.
Typically, you create one Worksheet for each set of fact and dimension tables. For example, you may have a sales fact table and an inventory fact table. Each of these fact tables shares common dimensions like date, region, and store. In this scenario, you would create two Worksheets: sales and inventory. The following diagram depicts the workflow for creating the sales Worksheet.
The process for creating a Worksheet is:
-
Decide which tables to use for the Worksheet.
-
Create a new Worksheet. If the Worksheet already exists in another cluster, you can migrate it using a flat
yamlfile. -
Add sources (tables) to the Worksheet.
-
Choose the Worksheet join rule.
-
Select the columns to include.
-
Optionally modify the join types within the Worksheet.
-
Optionally create formulas.
-
Optionally create Worksheet filters.
-
Save the Worksheet.
Create a worksheet
Create a Worksheet to make the data easy for users to search. This process includes adding a new Worksheet, after which you will choose the data sources to include in it.
To create a new Worksheet:
-
Click Data, on the top navigation bar.
-
Click the More menu icon
 , and select Create worksheet.
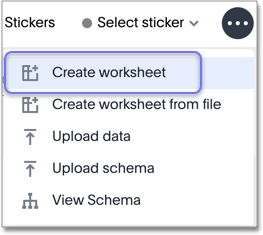
Add sources and columns to a Worksheet
After creating a Worksheet, you need to add the sources that contain the data. A source is another name for a table. The sources you choose are typically related to one another by foreign keys.
To add sources to your Worksheet, follow these steps. The Worksheet creation UI also guides you through the process.
-
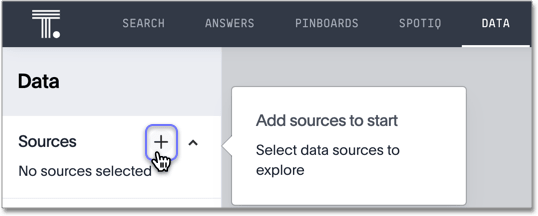
Click the + icon next to Sources.
-
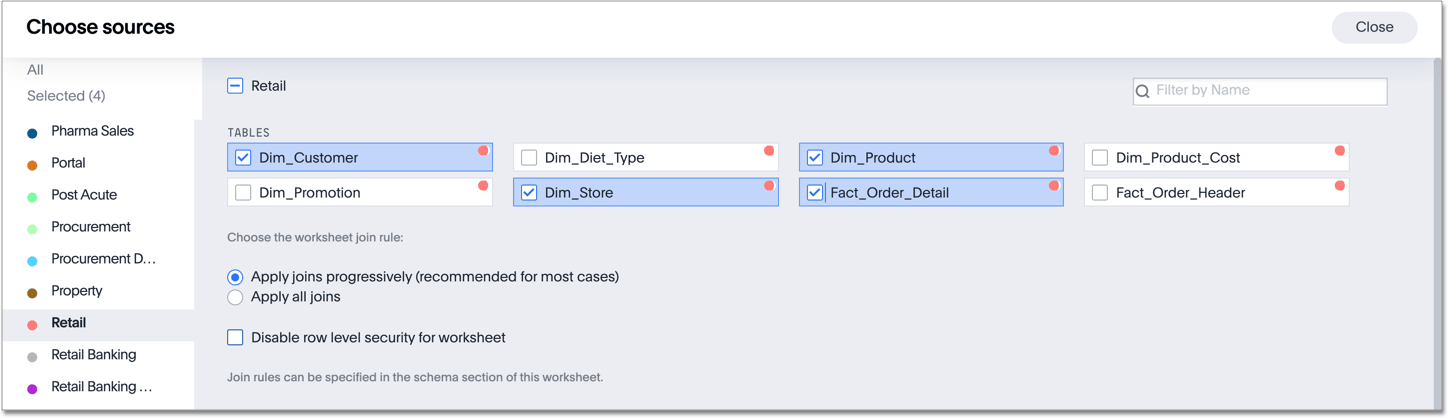
Check the box next to each of the sources you want to include in the Worksheet. You can search for specific Views, imported data, or tables. You can also select every data source that has a specific sticker, like Retail.
Note that the list of sources only shows the data sources on which you have view or edit privileges.
-
Choose the Worksheet join rule. Either apply joins progressively or apply all joins. Applying joins progressively speeds up performance.
-
If you want to disable Row Level Security for this Worksheet, check the checkbox to disable it.
-
Click CLOSE to save your changes.
-
Expand the table names under Sources and select the columns to add to the Worksheet, by doing any of the following:
-
To add all of the columns from a table, click the table name and click + Add Columns.
-
To add a single column, double-click its name.
-
To add multiple columns, Ctl+click each column you want to add and click + Add Columns.
Note that after you add a column, non-related tables (those without a primary/foreign key relationship) become hidden. If you are working with two tables that should be related, but are not, you can add a relationship between them.
-
-
(Optional) Modify the join types within the Worksheet.
-
(Optional) Create formulas.
-
(Optional) Create worksheet filters.
-
Click the More menu icon
, and select Save. -
In the Save Worksheet window, enter a name and description for your Worksheet and click SAVE.
-
(Optional) Click each column name and enter a more user-friendly name for searching. You can tab through the list of columns to rename them quickly.
-
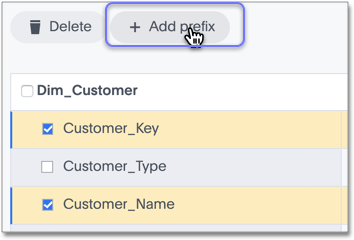
(Optional) If you want to add a prefix to the name of several columns, select them, click the Add prefix button, and type in the prefix.
-
Click the More icon
, and select Save.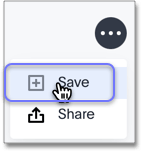
-
Share your Worksheet, if you want other people to be able to use it.
Where to go next
-
How the worksheet join rule works
Use the Worksheet join rule to specify when to apply joins when a search is done on a Worksheet. You can either apply joins progressively, as each search term is added (recommended), or apply all joins to every search.


