Intercom
Getting started
With SeekWell Intercom integration, you can easily sync data from your database to Intercom. To get started, authorize your Intercom account with SeekWell.
To set up Intercom as a destination, follow these steps:
-
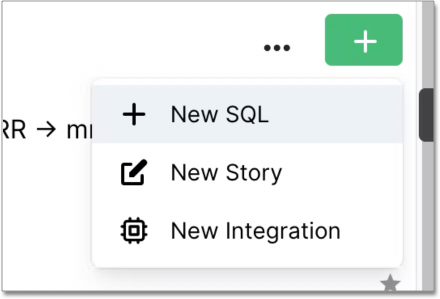
Create a new SQL block in SeekWell using the plus sign in the top right of the home screen:
-
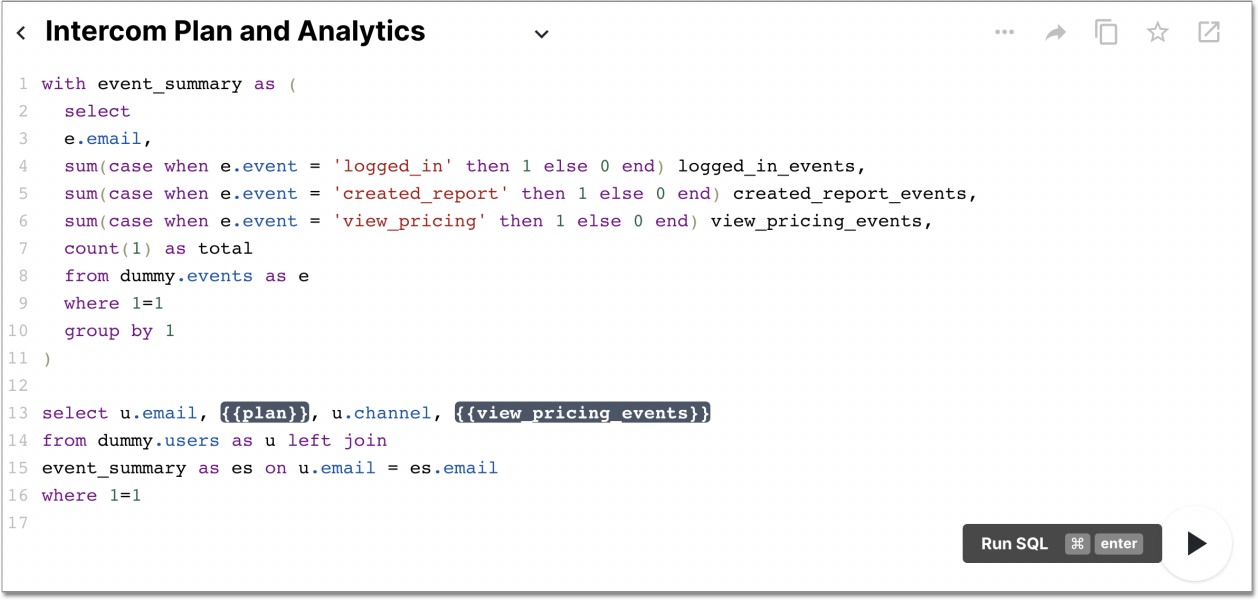
Write a SQL statement in your Block and run the query to verify the results are as expected.
-
Under Destination in the right sidebar, select Intercom.
-
After selecting Intercom as the destination, select the Mapping option on the bottom of the page next to Results.
Here, you can choose the fields from your query to map to fields in Intercom. You can add additional columns by selecting the green Add Column button. Source columns must be included in the result of your SQL query.
Once you map the columns to their respective Intercom fields, you can test the sync by selecting the Test Sync button.
-
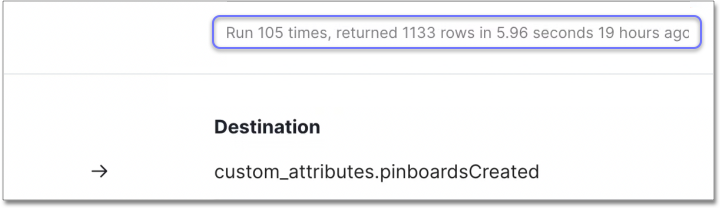
Once you test the sync, you can verify the sync to Intercom was successful by selecting on the metadata above the Mapping UI to see a realtime Feed of your runs.
-
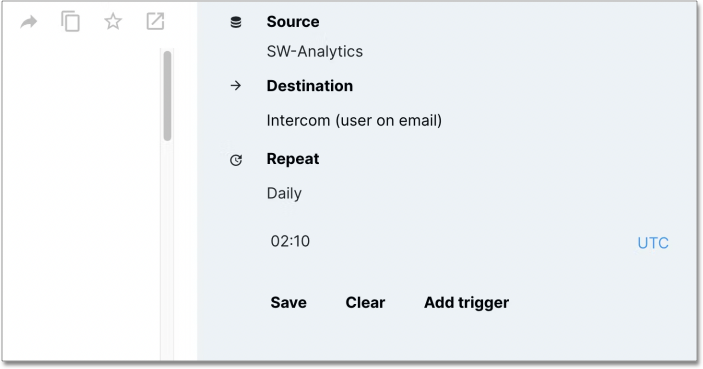
[Optional] Under the Repeat section in the right sidebar, select the interval and time at which you’d like your data to sync.
-
Complete setup.


