Basic Liveboard usage
Create a new Liveboard to group and manage related search results.
Liveboards act like live dashboards. They are collections of your related charts, tables, and headlines.
You can pin charts and tables to any Liveboard that you created, and the Liveboards that have been shared with you with the Edit privilege. When you create a Liveboard, you can share it with other people with either the View or Edit privilege. Liveboards are interactive, allowing you to perform actions like filtering, excluding values, and drill down on the visualizations.
Create a Liveboard
To create a Liveboard:
-
Select Liveboards, on the top navigation bar.
-
Select + Liveboard on the Liveboards list page.

-
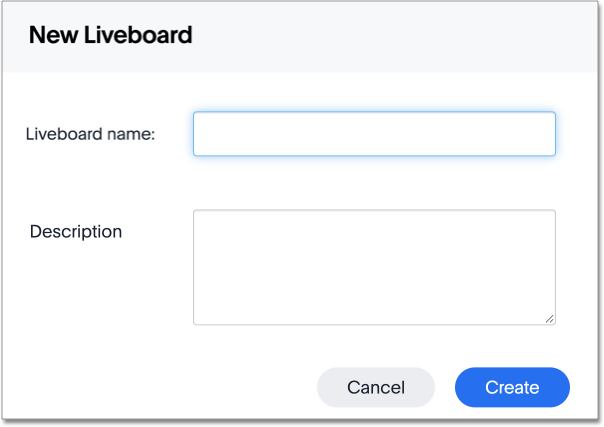
In the New Liveboard dialog box, give your Liveboard a name and description. Then select Create.
Add an answer to a Liveboard
Instead of saving an answer you can add it to a Liveboard. To add an answer to a Liveboard:
-
While viewing your answer of interest, select the Pin button at the upper right of the answer. The Pin button may have a Liveboard or Liveboard tab name next to it. Select Pin to quickly pin the answer to that Liveboard or Liveboard tab. Select the dropdown to pin the answer to a different Liveboard.
-
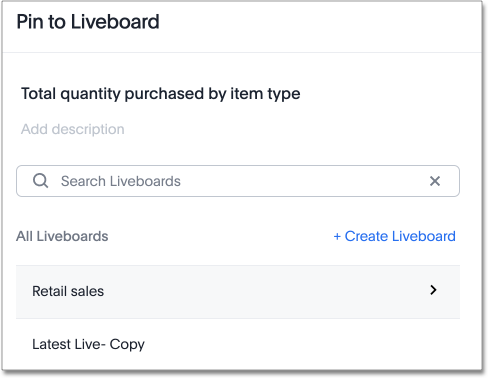
In the Pin to Liveboard dialog box, select the name of the Liveboard you would like to add your answer to.
-
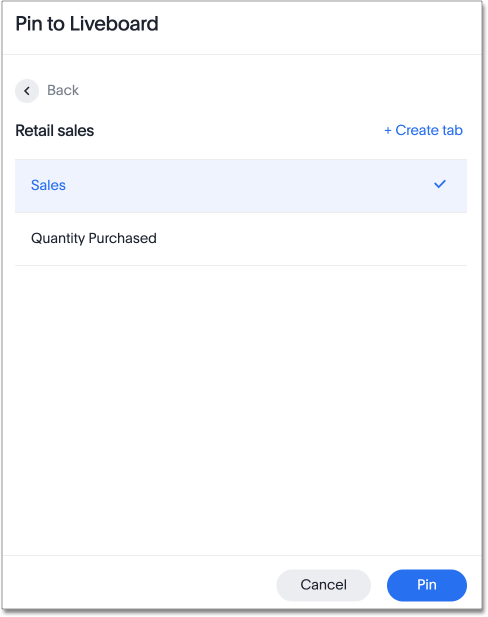
If the Liveboard has multiple tabs, there is an arrow > symbol next to the Liveboard name. When you select the Liveboard, you can choose a tab to pin to, or create a new tab by selecting + Create tab.
-
Select Pin.
You can also select Create Liveboard at the top of the list of Liveboards to create a new Liveboard, then add your answer to it.
Download a Liveboard as a PDF file
You can download a Liveboard as a PDF file, without having to download each visualization separately.
Downloading a Liveboard works just as it would when downloading an answer: simply click the More menu ![]() and select Download as PDF.
and select Download as PDF.
For more details, see Download a Liveboard as PDF.
Export a Liveboard as a TML file
You can download a Liveboard as a TML, or ThoughtSpot Modeling Language, file, optionally modify it, and migrate it to another cluster, or re-upload it to the same cluster.
Refer to Migrate or restore objects.
Details about a Liveboard
You can see who authored a Liveboard, when it was created, and when it was last modified by selecting the More menu icon ![]() and selecting Show Liveboard details.
and selecting Show Liveboard details.
Edit a Liveboard
If you are using the new Liveboard experience, you must enter Edit mode to make any changes to the Liveboard. This includes adding filters, adding tabs, and changing the layout. You do not need to enter edit mode to change the name of the Liveboard or Liveboard visualizations.
To enter edit mode, select the Edit button at the upper right of the Liveboard. If this button is grayed out, you do not have edit privileges for the Liveboard. To resolve this, contact your administrator or the creator of the Liveboard.
Liveboard tabs
You may want to separate your Liveboard into multiple tabs, grouping certain visualizations together in each tab. For example, you may have a Sales Liveboard that contains top-level KPIs and more detailed charts. You can create a tab for the top-level KPIs for executives to view, and a tab for the more detailed charts that managers need to monitor. To add tabs, select the Edit button at the upper right of the Liveboard, and select + Add tab in the top menu.
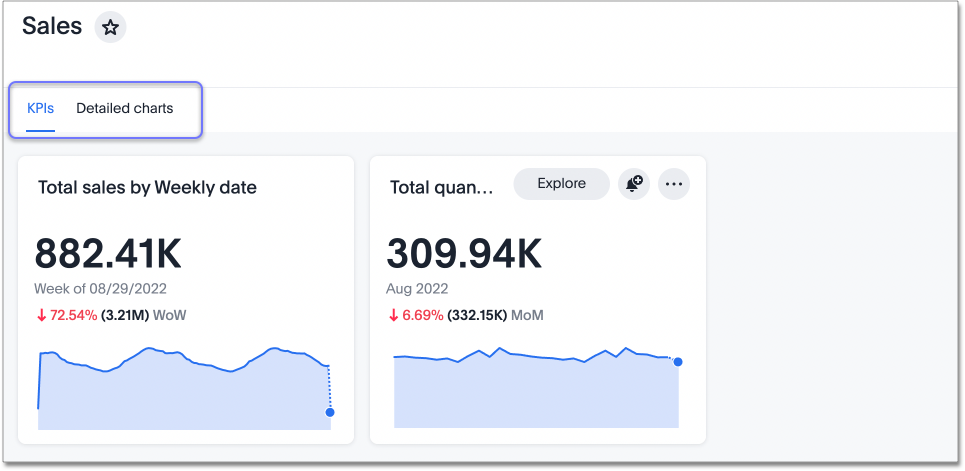
To learn more about liveboard tabs, refer to Liveboard tabs.
View Liveboard usage
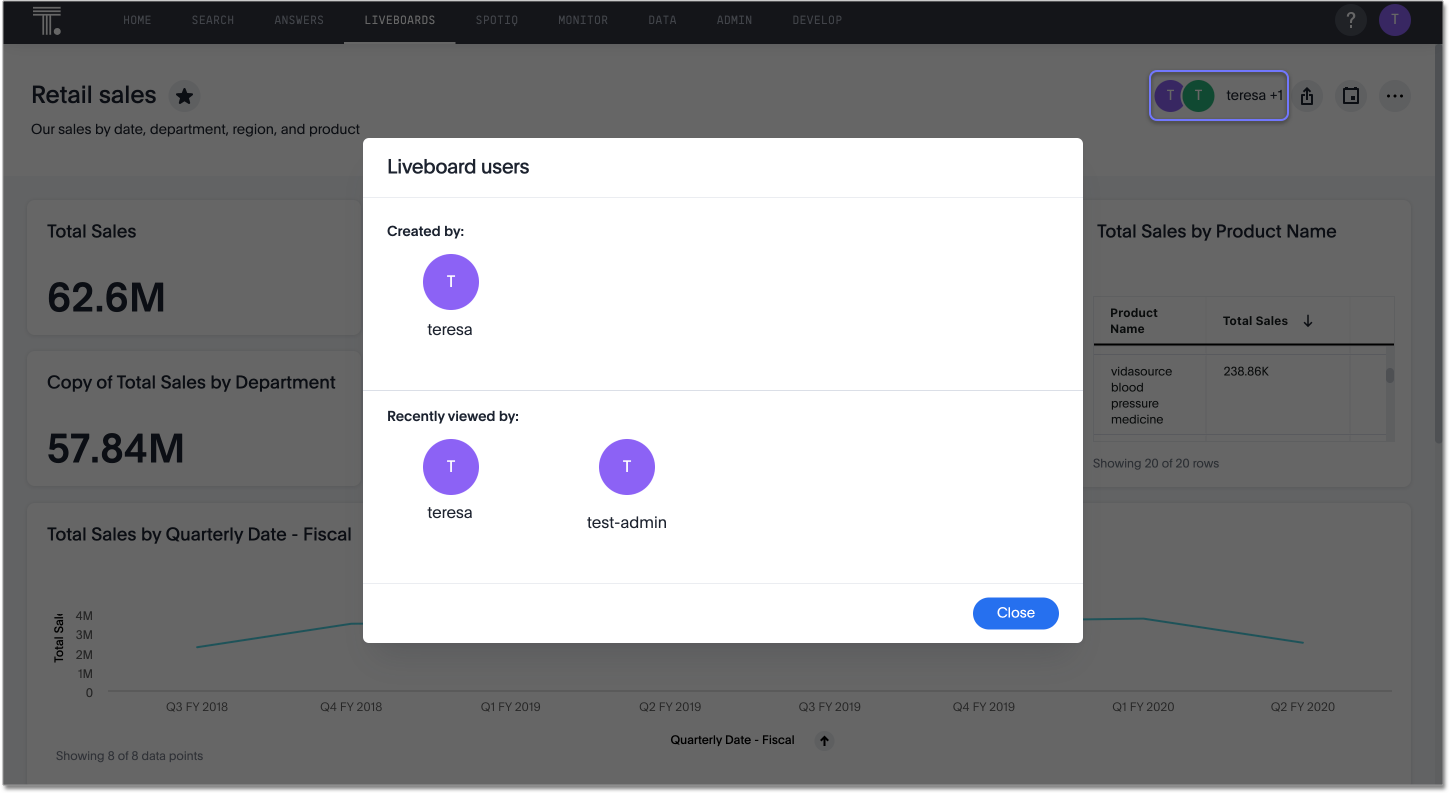
You can see who viewed or interacted with a Liveboard within the last 120 days. To the upper right of the Liveboard, next to the share and schedule icons, select the list of names and user icons. A modal appears, listing the user that created the Liveboard, and the users who recently viewed or interacted with it.
Undo, redo, and reset buttons
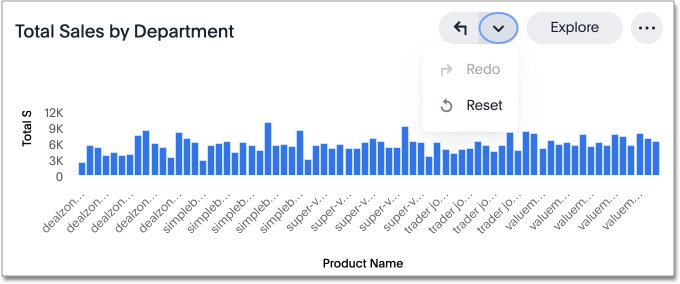
As you work with Liveboard visualizations, you may want to undo or redo an action. Use the in-product undo, redo, and reset buttons to reset or go back or forward 1 step each time you make a change in a search, saved answer, or Liveboard visualization (for example, when you drill down, or sort). These buttons appear to the left of the Explore button in a Liveboard visualization. Note that the reset button is only available for saved answers and visualizations; it resets the answer to its last saved state.
Other Liveboard actions
Other Liveboard actions include actions you normally perform on your search as well as actions that you can only perform on a Liveboard.
You can see these options when you select the More menu icon ![]() in the upper-right corner of the Liveboard. Note that there are different options in the more menu for the Liveboard, depending on whether you are in view or edit mode.
in the upper-right corner of the Liveboard. Note that there are different options in the more menu for the Liveboard, depending on whether you are in view or edit mode.
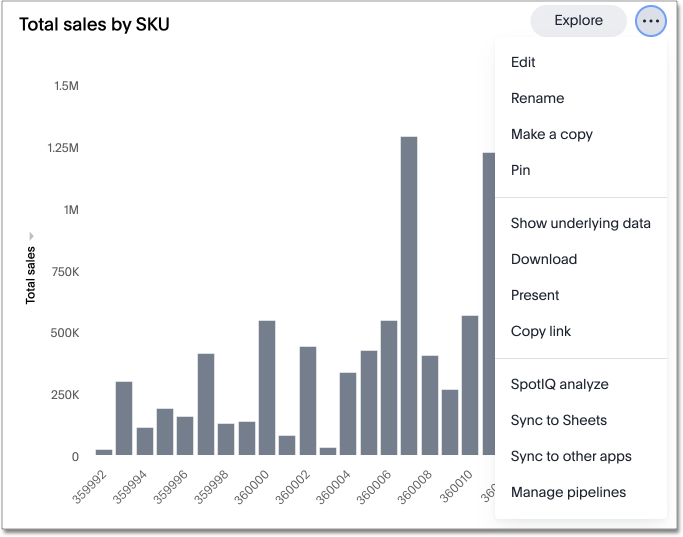
You can see different options when you select the More menu icon more options menu icon in the upper-right corner of any Liveboard visualization. Note that there are different options in the more menu for the visualizations, depending on whether you are in view or edit mode.
If you make a change to a Liveboard in Edit mode, you must save your changes. Select the Save button in the top menu bar to make your changes permanent.
Related information


